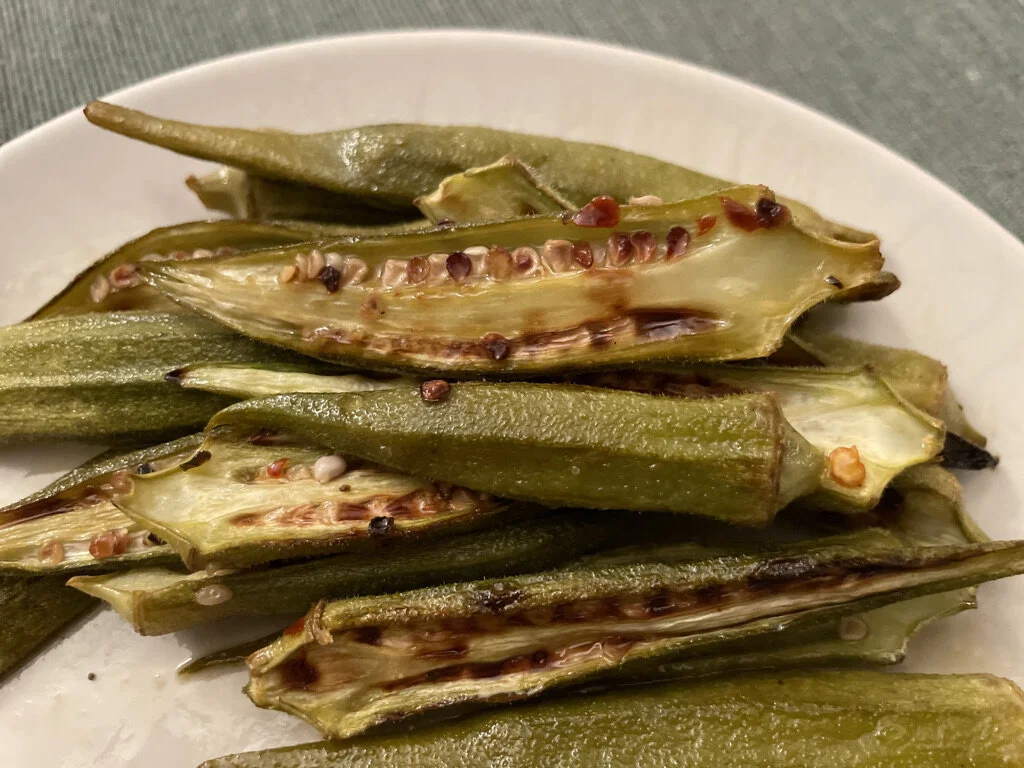
Snackable Okra With A Sweet and Sour Glaze
It turns out you can turn okra into an addictive finger food without breading it and deep frying it.

Summertime!
I guess I just have a thing for controversial vegetables. If you follow my blogging, you’ll have seen my previous apologia for radishes, celery, and Brussels sprouts. I feel drawn to vegetables that a lot of people hate because I believe in the transformative power of proper technique. There are no bad ingredients, only bad recipes. That is doubly true for today’s contender: okra.
Many, many people claim to hate okra. I was once one of them. I don’t even remember seeing it served anywhere when I was growing up in the Northeast US. The South is the only region I’ve been in where okra is a fairly commonplace ingredient. Not coincidentally, Southern cooks are more likely to know how to prepare okra correctly than cooks anywhere else.
Okra’s least popular attribute is the mucilaginous slime that it produces after being cut or put in contact with water. Some okra fans love the slime, and it’s great for thickening soups and gumbo, but today I’m sharing a recipe for slime-haters.
This recipe produces an addictive side dish that’s easy enough for as weekday dinner. I simply split and broil the okra and finish it with a vinegary, spicy glaze inspired by Carolina vinegar barbecue sauce. It can all be ready in 15 minutes.
Hot and Sour Charred Okra
Ingredients:
1 lb okra
3 tbsp apple cider vinegar
3 tbsp lemon juice
1 tbsp brown sugar
2 tsp red chili flakes
Lots of black pepper
3 large cloves of garlic
Set your oven to broil. Find a pan you can put under the broiler and line it with foil, then oil the foil. Split the okra longways and arrange in a single layer cut-side up in the prepared pan. Drizzle with olive oil and season generously with salt. Put under the broiler, ideally about 4 inches away from the heat. Check every 4 to 5 minutes and rotate as needed for even browning.
While that’s cooking, mince the garlic and add to a small saucepan with all the remaining ingredients. Cook on high heat until the mixture has lost about 1/3 of its volume and smells slightly less acidic.
Pull your okra out of the oven when it’s fairly well browned all over the cut side, with a little bit of char on some of the edges. This should take 10 to 15 minutes depending on your oven. Pour the glaze over the okra, mix it around a bit, and return to the broiler for one to two minutes. Watch it the whole time! You want to cook it so there’s no liquid glaze left, but if you go too long it burns easily during this stage of the process.
Taste one piece of okra. Yum! Does it need more salt? Add a little more to taste. Serve alongside any protein you desire, cut some bread, and that’s dinner. Just don’t be surprised when the okra steals the show.

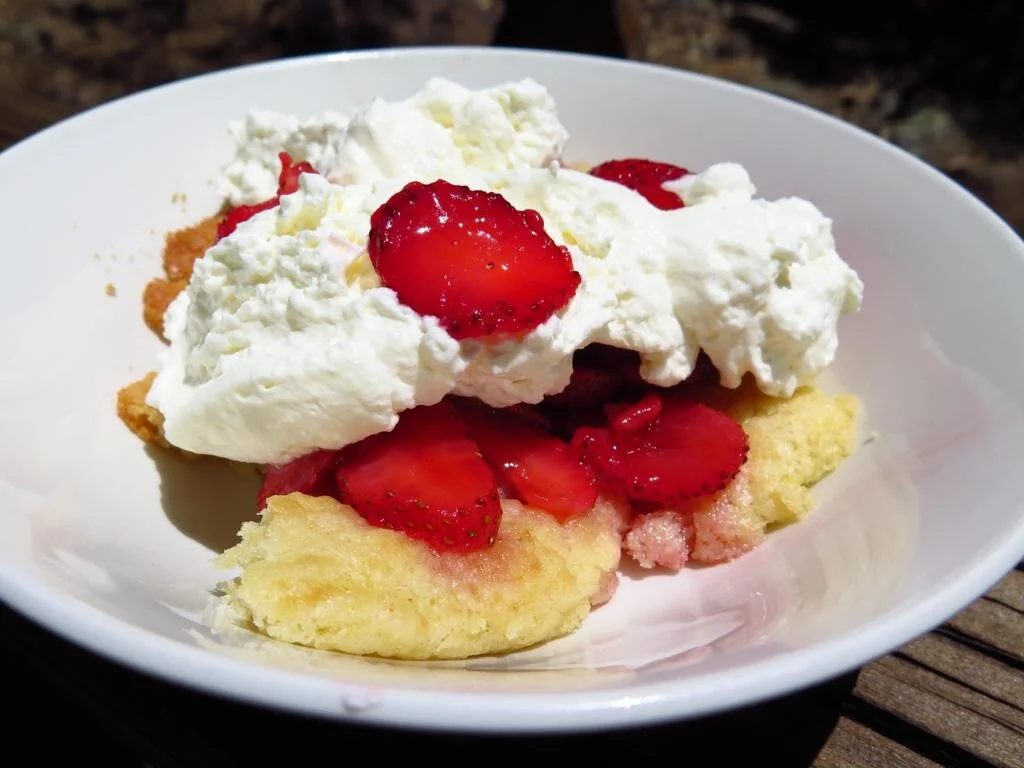
Strawberry Shortcake: A Balm For Wistfulness
In the summertime, when the weather is fine, your strawberries will be sublime… Crawford Smith is an eclectic cook and musician living in Austin, Texas. Find his unique & inventive home recipes and music videos on crawfordsmith.com.
In the summertime, when the weather is fine…
The coming of the warmer months is making me yearn to return to the setting of my childhood summers: my great-grandfather’s cottage on Bass lake in Ontario.
Norman McLeod, my great-grandfather, built our rickety lakeside cottage in the late 30’s from a kit. It’s constantly falling apart, requiring some kind of intensive maintenance work every visit. It is, nevertheless, quite charming, and my childhood summers were spent canoeing, swimming, and barbecuing in that blissful environment.
Norman himself was by all accounts, a force of nature, and locals still tell stories about him. He was the kind of country doctor who performed surgeries on farmhouse kitchen tables and drove on dirt roads to reach house calls across an entire county. Up until his 70s, he did one headstand a year just to prove he still could. Norman was known to occasionally eat entire bowls of maple syrup with a spoon. His medical school graduation picture hangs in my Grandmother’s study, and Norman’s visage, with fearsome brows and piercing, dark eyes, haunted me as a child.
Time at the cottage was filled with culinary delights. The local bakeries produced many treats that were unique to cottage country or Canada more generally. For breakfast, we would eat tea-cakes or cinnamon-y Chelsea buns with butter and local cream honey, so thick you had to use a knife to spread it. We allowed ourselves to eat dessert with both lunch and dinner when we were at Bass Lake, gorging ourselves on syrupy butter tarts and decadent loaf cakes. Social occasions were accompanied by chocolate-coconut Nanaimo bars, lemon squares, and fig bars.
Summer in that part of Canada was also a magnificent time for the local produce. Wax beans, sweet peas, corn and new potatoes would be simply boiled and served with butter. The tomatoes were at peak season, and black raspberries grew wild on the gravel road the led to the cottage. Usually our visits also coincided with the height of strawberry season. I would eat scores of the tiny, dark, sweet berries, nothing like the pale, unnaturally large California ones available in supermarkets.
My father celebrated strawberry season by making shortcake. The recipes for whipped cream and berries always stayed about the same, but he was constantly fiddling with his shortcake recipe, trying out a new method every time. I have continued his experimentation, with my favorite so far being this recipe:
Strawberry Shortcake
Strawberries
1 quart extremely ripe, in-season strawberries
1/4 cup granulated sugar
Pinch of salt
Cream
3 cups heavy whipping cream
1/2 cup powdered sugar
2 tsp vanilla extract
Pinch of salt
Shortcakes
Approx 1 cup of AP flour
2 tsp baking powder
1/2 tsp baking soda
1/2 tsp salt
1 tsp lemon juice
Cut the greens off your strawberries and slice them root-to-tip into 4 to 8 slices each, depending on size. Sprinkle with the granulated sugar and a pinch of salt and stir until all of the sugar is wet. Leave on the counter for 30 to 45 minutes, stirring occasionally, until all the sugar is completely dissolved and a fair amount of syrup has been produced. Chill until ready to serve. This mixture will keep for a few days in the fridge, although the texture will change.
Reserve a couple tablespoons of your ice-cold heavy cream in a small dish and pour the rest in a bowl with the powdered sugar, vanilla and pinch of salt. Whip by hand or with an electric beater until stiff peaks form. Reserve 4 to 5 cups of the whipped cream in another bowl and put in the fridge. This will also keep for a few days, and can be rewhipped if it starts to deflate.
Mix your flour, baking powder, soda and salt together in a bowl. Add lemon juice to the cup or so of remaining whipped cream and stir gently with a rubber spatula to incorporate. Dump half your flour mixture into the lemon cream, and fold gently with your spatula. Once this is mostly incorporated, fold in the rest of the flour. The goal here to not deflate the cream; be gentle. Adjust the texture of your dough with milk or extra flour as necessary. It should be stiff enough to form with your hands, but wet enough that it feels a little sticky still.
Form your dough with your hands into six biscuit-shaped rounds and place on a greased baking sheet, preferably lined with parchment paper. Place the tray of shortcakes in the freezer or fridge for 15-30 minutes; this will help prevent them from spreading in the oven. Once chilled, brush the tops with the reserved unwhipped cream and sprinkle with a pinch of granulated sugar. Bake at 425 F for 10 to 15 minutes, until the tops are golden brown. Cool for a few minutes before putting together your shortcakes.
For assembly split the cake in half with a fork and place in a bowl. Top liberally with strawberries and their juices, and cover with an immodest amount of whipped cream. You can add ice cream as well, but I think that gilds the lily.
Thanks, Sohla: Spicy Fried Chicken
A little history of Bon Appetit’s Shakespearian demise, and a recipe inspired by the courageous person who took it all down.
Like every food-obsessed internet person, I used to be in love with Bon Appetit’s Youtube channel. The channel combined good recipes and skilled on-air talent with creative editing, high production values and humor to make compulsively bingeable videos. The channel’s secret sauce was that it made Bon Appetit seem like a cool, fun workplace where everyone knew each other and helped each other out. The constant cameos and crossover appearances by different chefs in the Bon Appetit roster kept the videos fun and engaging, and made the on-air talent feel like a friend group you were a part of.
Of course, it’s 2020 and everything good is actually bad, and it turns out that Bon Appetit basically wasn’t paying its nonwhite contributors for their video appearances. Editor-in-chief Adam Rapaport also once appeared in terrible brownface at a Halloween party as an offensive Puerto Rican stereotype.
Many of the details about BA’s sculduggery came from chef Sohla El-Waylly’s Instagram, where she revealed how low her pay was compared to her white coworkers. Bon Appetit promised to do better, fired Rapaport, and tried to write new contracts to retain the workers they had been screwing. Ultimately BA failed to provide equitable pay to its nonwhite talent, causing fan favorites like Sohla, Priya Krishna, and Rick Sanchez to either leave the company entirely or to stop appearing in videos. The BA Youtube channel is now effectively dead, at least for now.
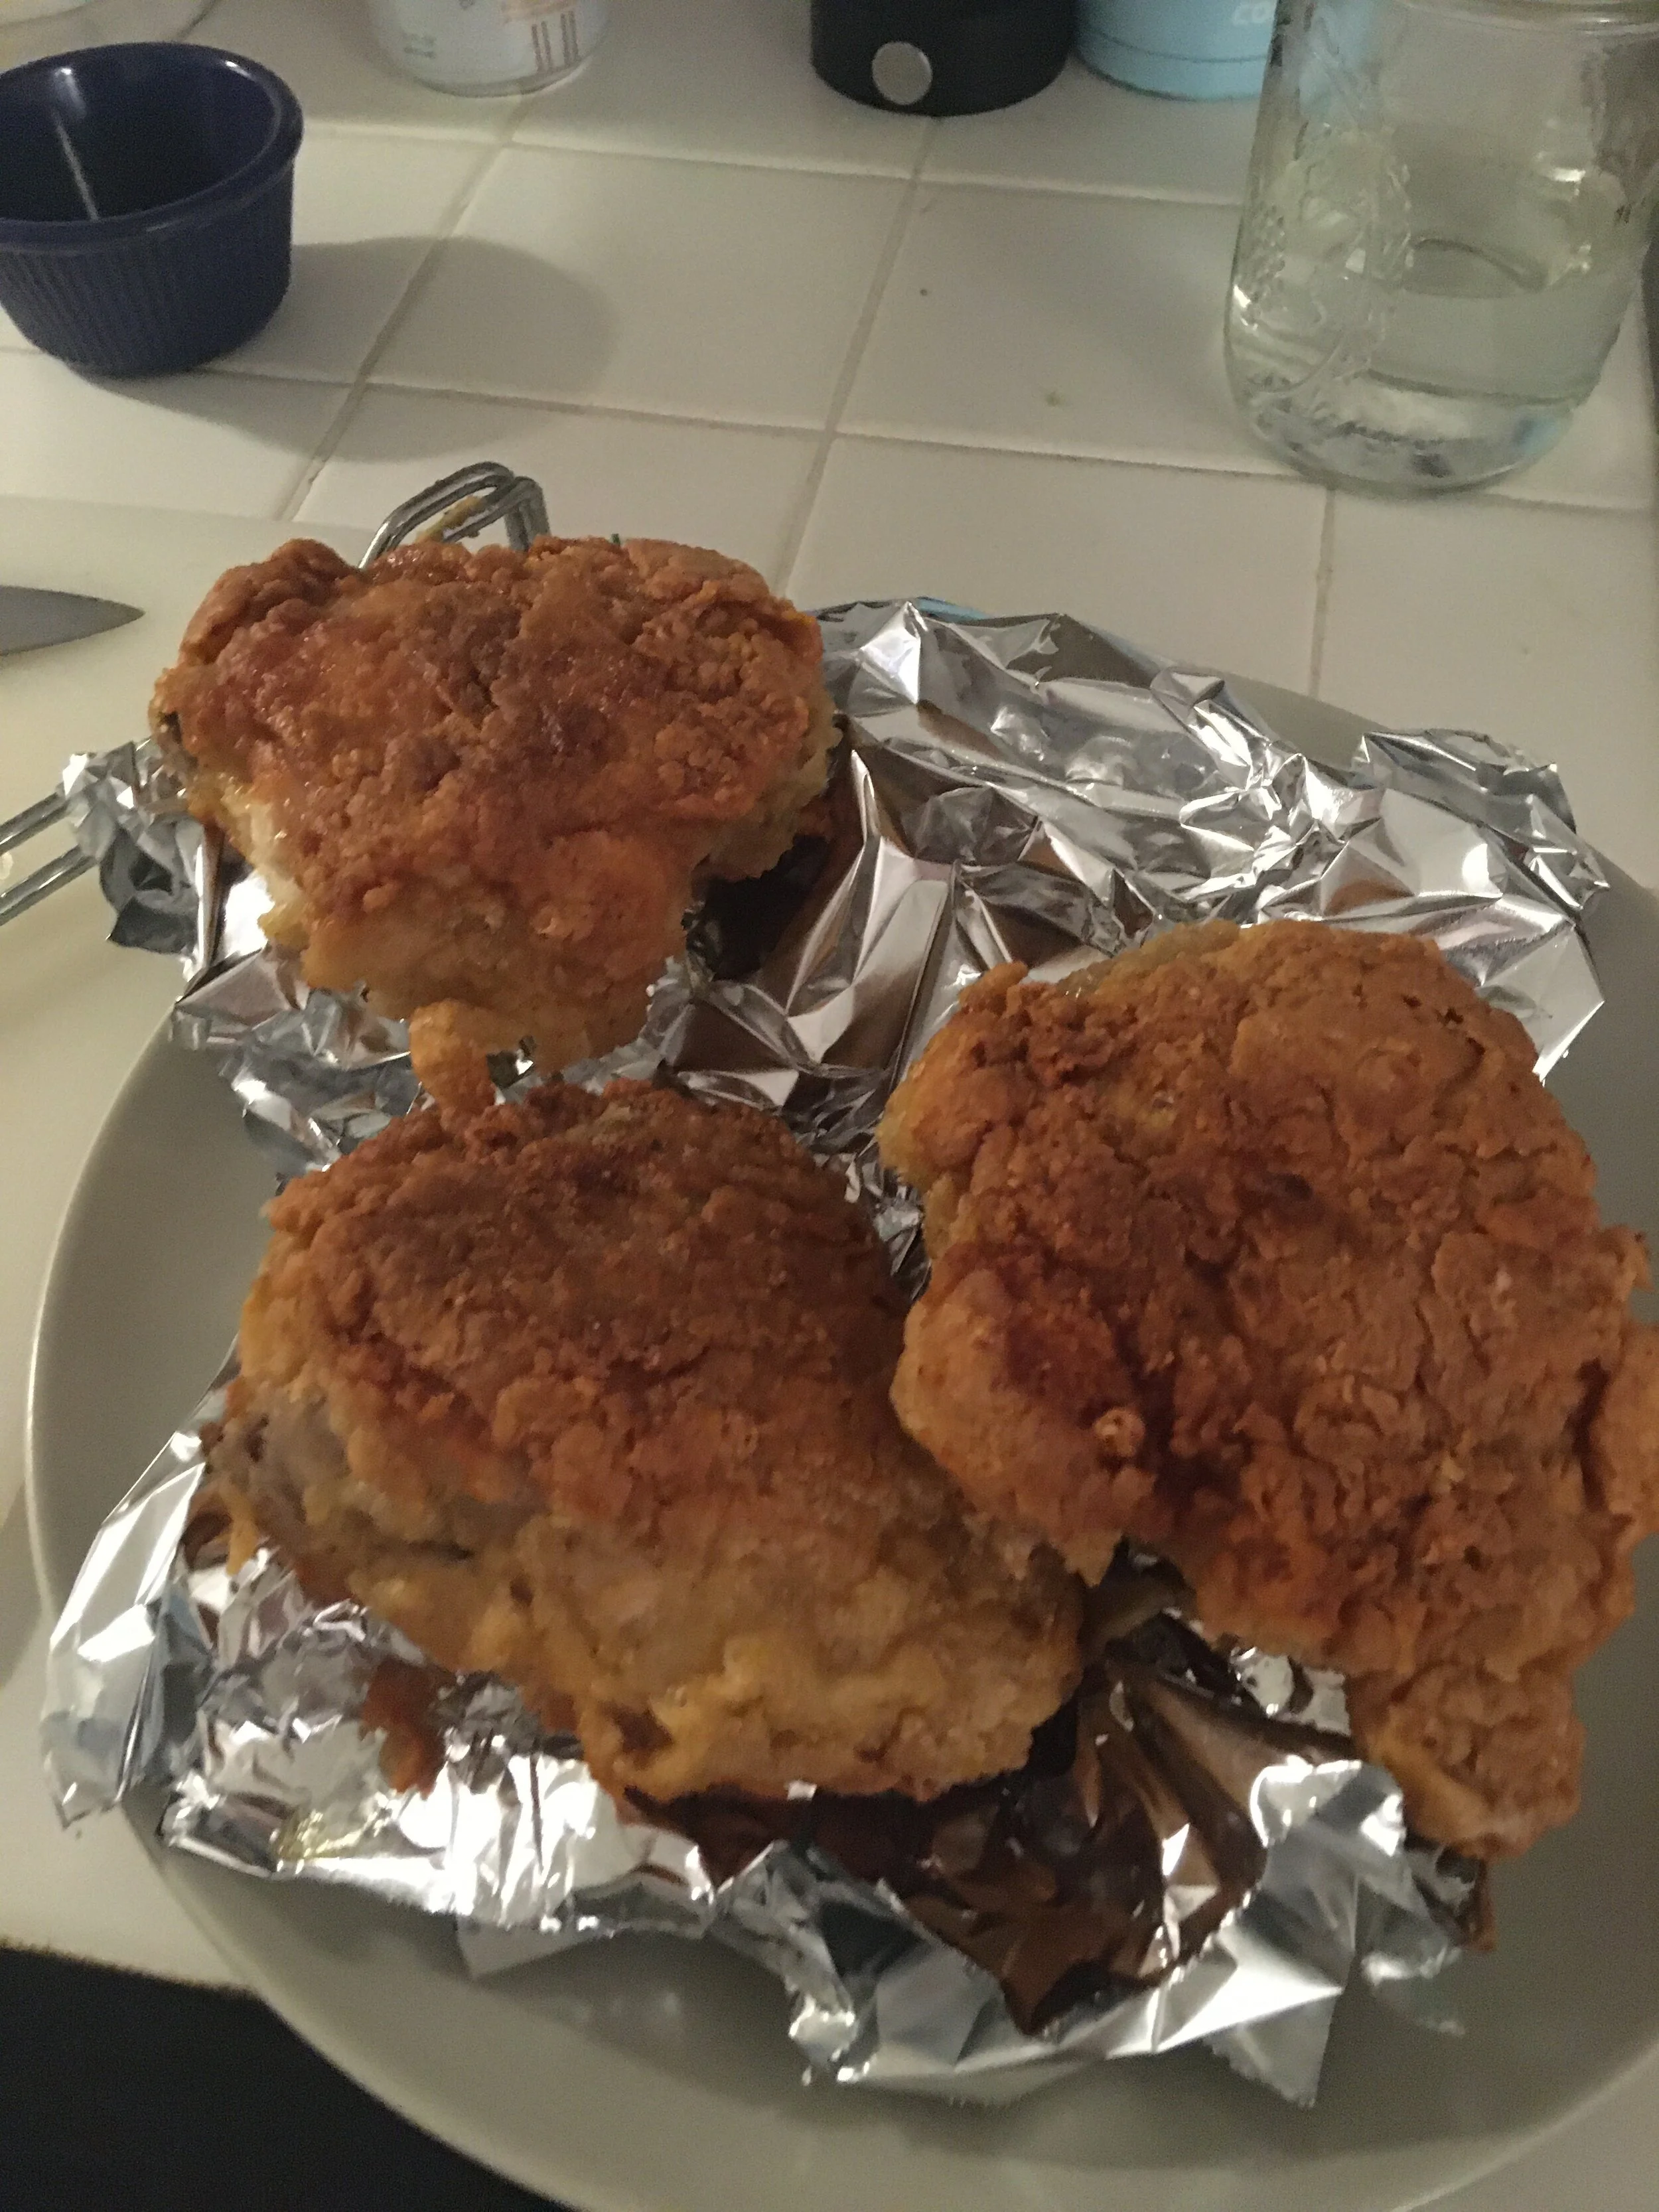
Sohla’s revelations were especially galling considering that she had established herself as probably the most talented, imaginative, and technically gifted chef in the BA test kitchen during her short tenure there. People have even made supercuts of her schooling all the other chefs at Bon Appetit. Fortunately, she has been able to spin out of the Bon Appetit trash fire gracefully, and now has her own show on Bingeing With Babish’s Youtube channel. She also demonstrated her perfect fried chicken recipe in a video for the New York Times. Inspired by the video, I did a spicy fried chicken inspired by her methods on a day when my girlfriend was craving hot chicken. It slapped.
Spicy Fried Chicken With Chili Oil
4 skin on bone in chicken thighs
2 cups buttermilk
1/2 cup kimchi juice or the liquid from fermented mustard greens
2 eggs
1/2 cup flour
1/2 cup cornstarch
Tsp cayenne pepper
Tsp msg
Tsp cumin
Tsp coriander
Tsp black pepper
Tbsp Louisiana-style hot sauce like Crystal
2 tsp Lawry’s or other seasoned salt
Tsp garlic powder
Tbsp Chinese chili oil
Trim any excess fat and skin off your chicken thighs, and then soak them in a mixture of buttermilk and kimchi juice/mustard green liquid. Fermented mustard greens can be bought easily at asian grocers, or you can make your own. I actually soaked my chicken in straight mustard green liquid because I had a ton leftover from multiple batches of fermented greens. You could also use the liquid from spicy pickles. The main goal is to have a soaking liquid that is pickly, salty, and a little spicy.
You should soak the chicken for at least an hour or two, or preferably overnight. Mix all the dried spices together, and beat about half of this spice blend together with the hot sauce and eggs, thinning with a little water. Mix together your flour and cornstarch in a separate bowl.
Take the chicken out of its brine and dump it into the starch mixture, tossing to coat. Transfer from the starch bowl to the egg mixture, making sure every bit of the chicken is coated with egg, then dunk it back into the starch mixture. Press the flour into your chicken pieces forcefully, making sure every inch is thickly coated. You want to be kind of sloppy with this process, freely contaminating your flour mixture with little drops of egg and brine, because the liquid combined with the flour/starch is what creates the crispy craggy bits on the outside of truly excellent fried chicken.
At this point, you would ideally let the chicken sit at room temp on a sheet pan for a while to let the coating set, but this is not strictly necessary. Heat about an inch of oil in some kind of wide, flat bottomed pan over medium heat. Cast iron skillets are perfect for this, but if you don’t have one a high-walled stainless steel saute pan, a dutch oven, or even a pasta pot would all make adequate substitutes. Any kind of neutral oil with a high smoke point would work, but I think grapeseed oil, peanut oil, or lard are the best options. To me, canola oil and vegetable oil have off flavors that become quite noticeable when used in the quantities necessary for deep frying.
You’re shooting for around 350 degrees with your oil, but there’s no real need to bust out a thermometer. Just drop a little chunk of your breading mixture in, and if it sizzles vigorously, you’re good to go. Carefully lay in your chicken pieces one at a time, and immediately crank the heat under your skillet so the oil temperature can recover. If you don’t do this, the cool oil will all immediately rush into your chicken, leaving you with a greasy, sad bird. Keep the heat high until the oil is singing and sizzling at a pretty good pace, and then reduce back to medium. Cook the chicken for about half an hour to 40 minutes, flipping every 5 to 10 minutes to ensure even cooking. The chicken should be cooked all the way through when the coating is deeply golden brown all the way around, with some dark chocolate brown in the spots where it has made contact with the bottom of the skillet. If you’re unsure, pierce the biggest piece with a paring knife to see if the juices run clear.

I didn’t use quite enough oil, so there was a little ring of non-crispy chicken around the edges of my pieces
Remove your chicken from the oil with tongs and drain on a rack or a crumpled up piece of tinfoil. Immediately sprinkle it with salt and drizzle with chili oil to taste, then dust with your reserved spice mixture. I like to follow Sohla’s lead and serve mine with honey. Kristen eats hers with a mixture of Crystal hot sauce and ranch, which is also incredibly delicious. Wait a couple minutes before you bite in unless you want to remove all your tastebuds with scalding chicken juice.

The tinfoil elevates the pieces and keeps the bottom from becoming soggy
Let My Radishes Into Your Club
Using radishes in an attempt primarily to gain food media legitimacy, and also to create something delicious.
I’ve been trying to pitch recipe ideas to food publications lately. Keeping the dream of being a professional food writer-abouter alive! This is a recipe I dreamed up recently, trying to think of something bougie but simple that a food magazine would like. Nobody’s picked it up yet, but if this blog mysteriously disappears later, you know I got some good news!
Radishes are one of the few vegetables that remains in season through fall and winter. They’re an ingredient that chefs love, but the general population seems to regard with suspicion. Most people only think of them as a salad topper, if they think of them at all.
While I love the zippy crunch of raw radishes, roasting softens their texture and brings out their natural sweetness, mellowing the astringency that some people don’t care for. Also, the sauce on these would make a boot taste good, so this recipe is perfect for converting radish haters, if that’s something you’re trying to do for some reason.
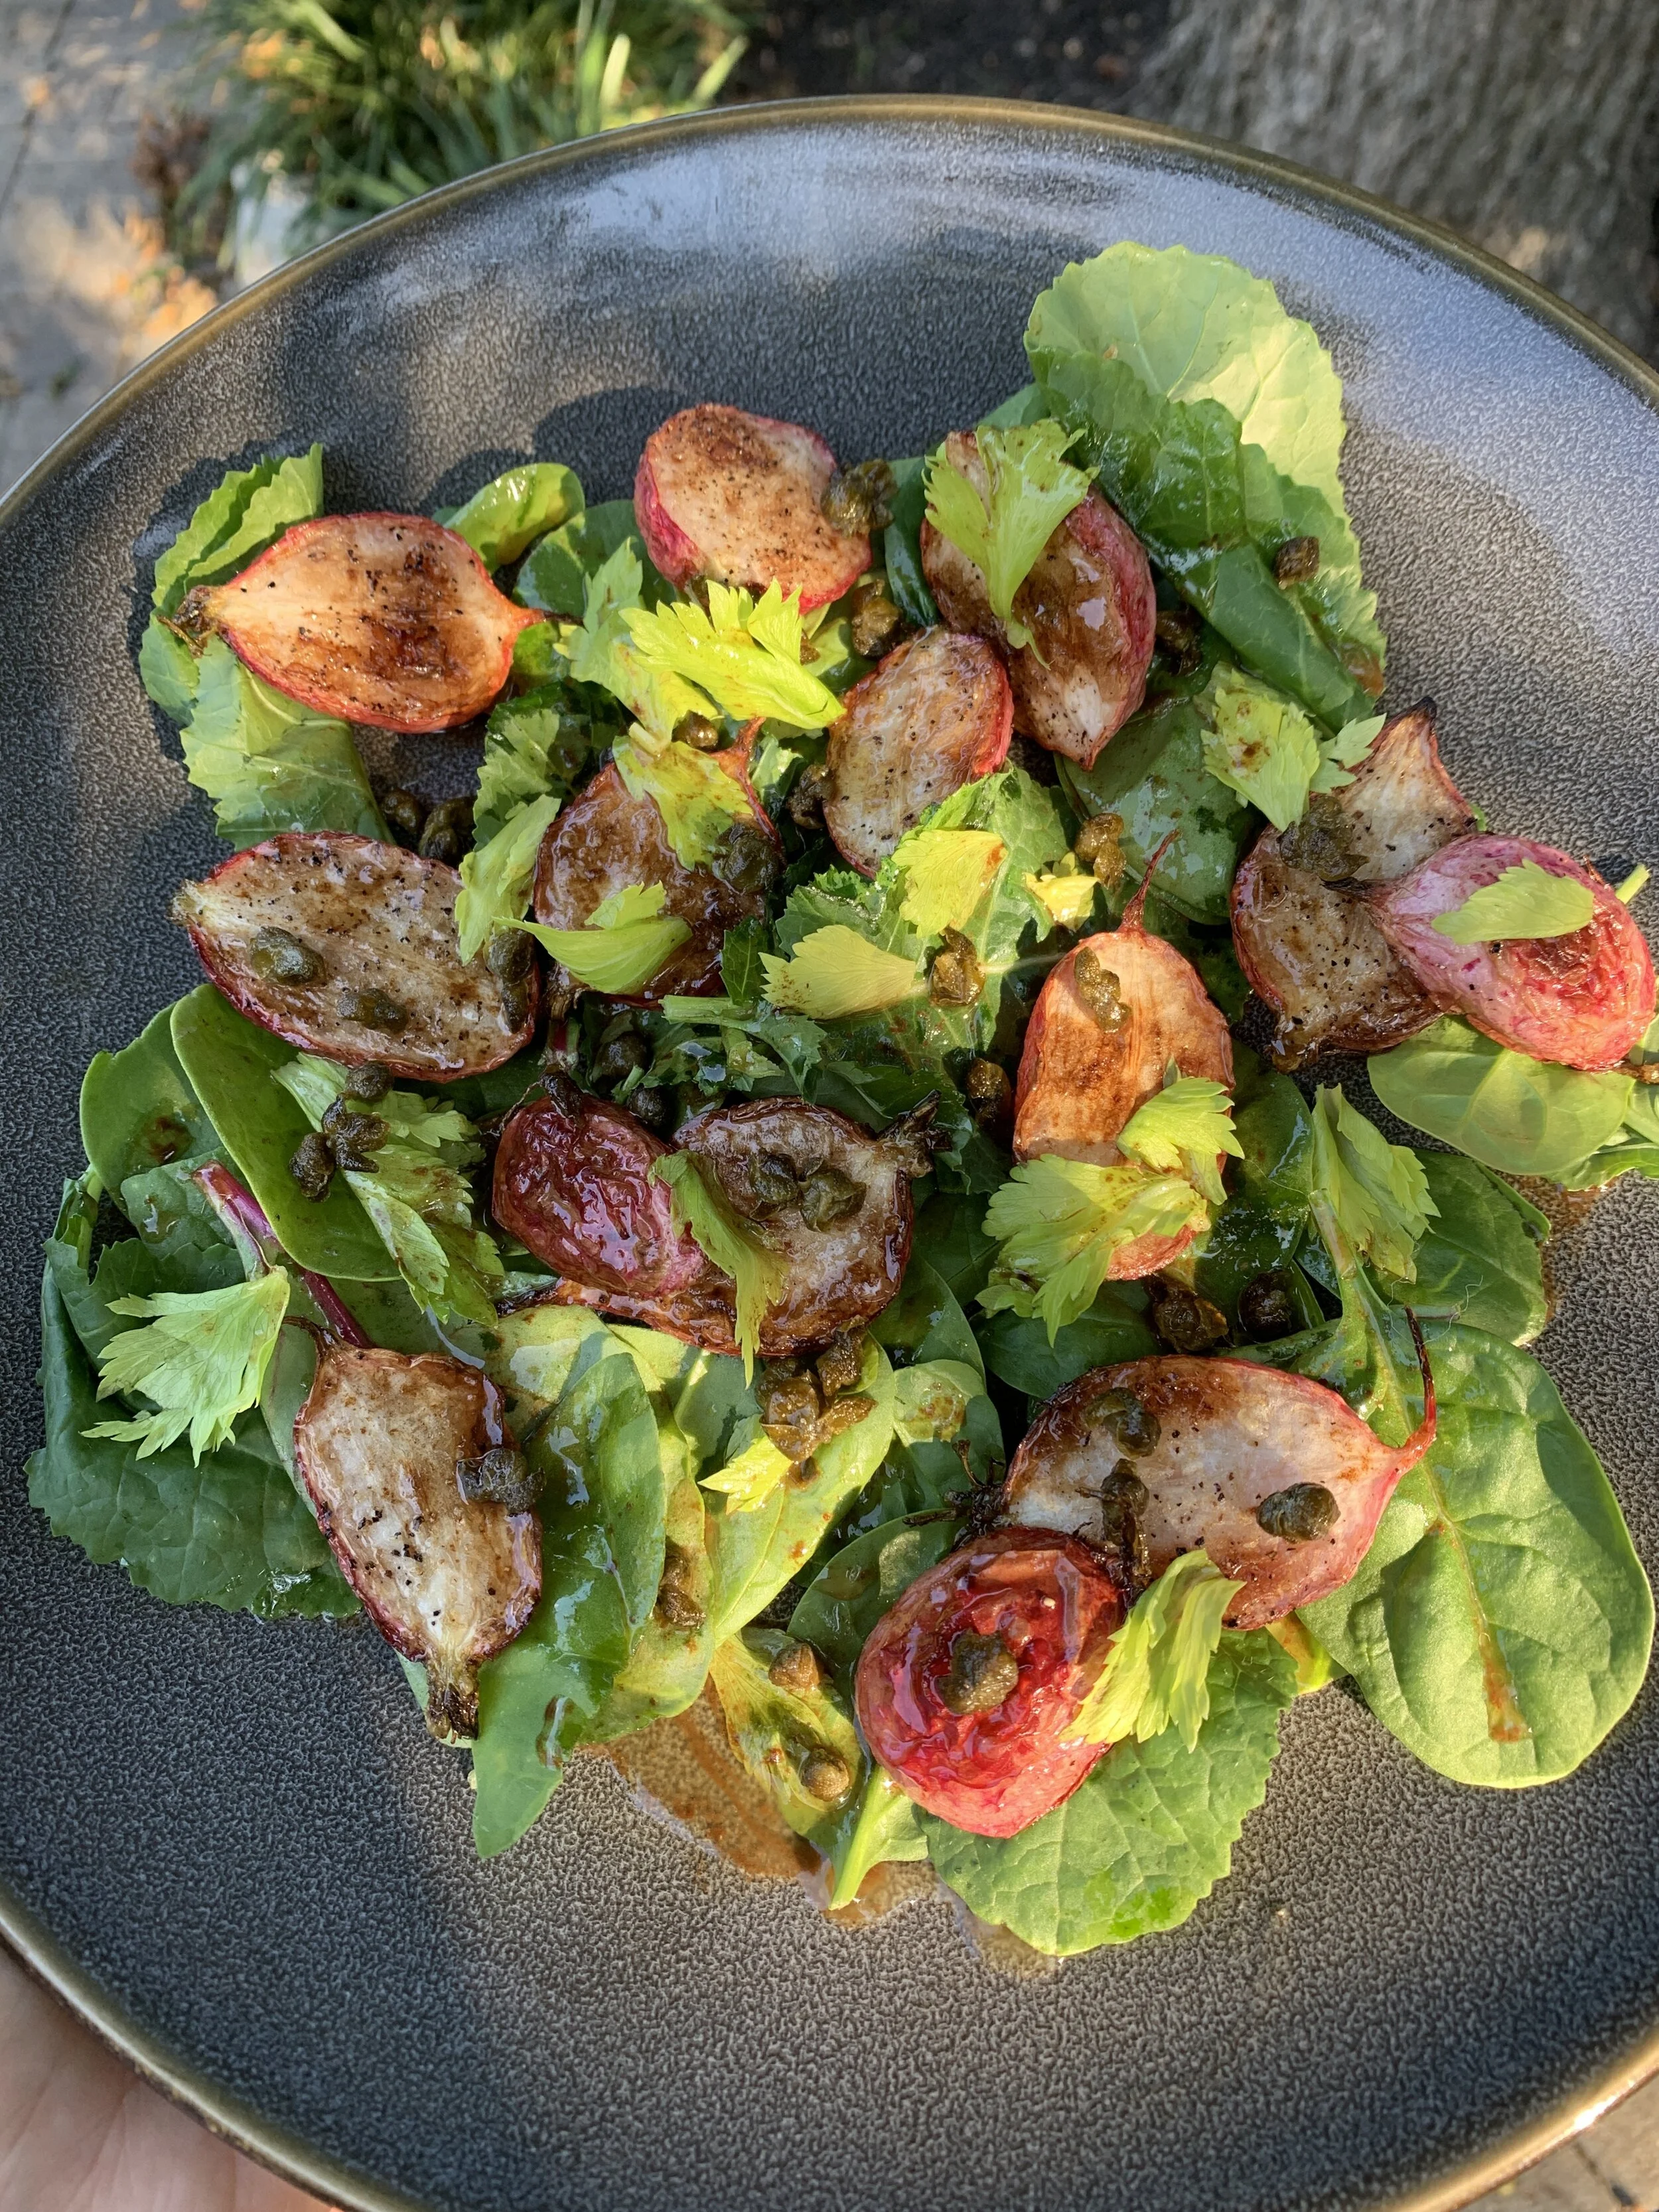
Roasted Radishes With Lemon-Black Butter Sauce And Crispy Capers
9 radishes
3 tbsp butter
Juice of half a lemon
1-2 tbsp capers
Celery leaves or flat leaf parsley
Preheat your oven to 400F
Cut your radishes in half from root to tip. Heat up a little olive oil in an oven-safe skillet over medium-high heat. You want enough radishes to be able to fill your pan with them in one layer, with a little gap in between the radishes to allow steam to escape so you get a good sear. For my 9 inch cast iron skillet, that’s 9 radishes.
Place the radishes cut side down in your skillet, and sear them on that side until they’re deeply browned, 5-10 minutes. Flip them over and season generously with salt and pepper. Put them in your preheated oven and roast until a fork slides in pretty easily, around 20 minutes.
While your radishes are roasting, melt the butter in your smallest skillet or pot over medium-low heat. Throw the drained capers into the butter as it’s melting. The goal here is to fry the capers while you brown the butter. It can be a little hard to see what’s happening, but the capers are done when they kind of “pop” or bloom and turn a little bit darker. The butter is done when the white milk solids turn a nutty brown color. In my experience, the capers will be done around the time the butter is browned.
Fish the capers out with a slotted spoon, reserving the butter in the pan. Drain your crispy capers on a paper towel. Squeeze the lemon juice into your brown butter and cook until most of the bubbling subsides, then remove from the heat. You have now created black butter, one of the most delicious substances known to creation. It’s good on pretty much everything.
When the radishes are tender, remove them from the oven and drizzle them with your black butter sauce. Garnish with the crispy capers and parsley or celery leaves. If using celery leaves, choose only the light yellow ones from the center of the bunch, as they are less tough and bitter than the green ones. Season with salt and pepper to taste.

I’ve never seen such good lookin’ radishes
These radishes are good as a hot side dish, and are also great served room temperature on top of salad greens. They would also be excellent on top of a piece of grilled bread spread with ricotta. Let your imagination run wild!
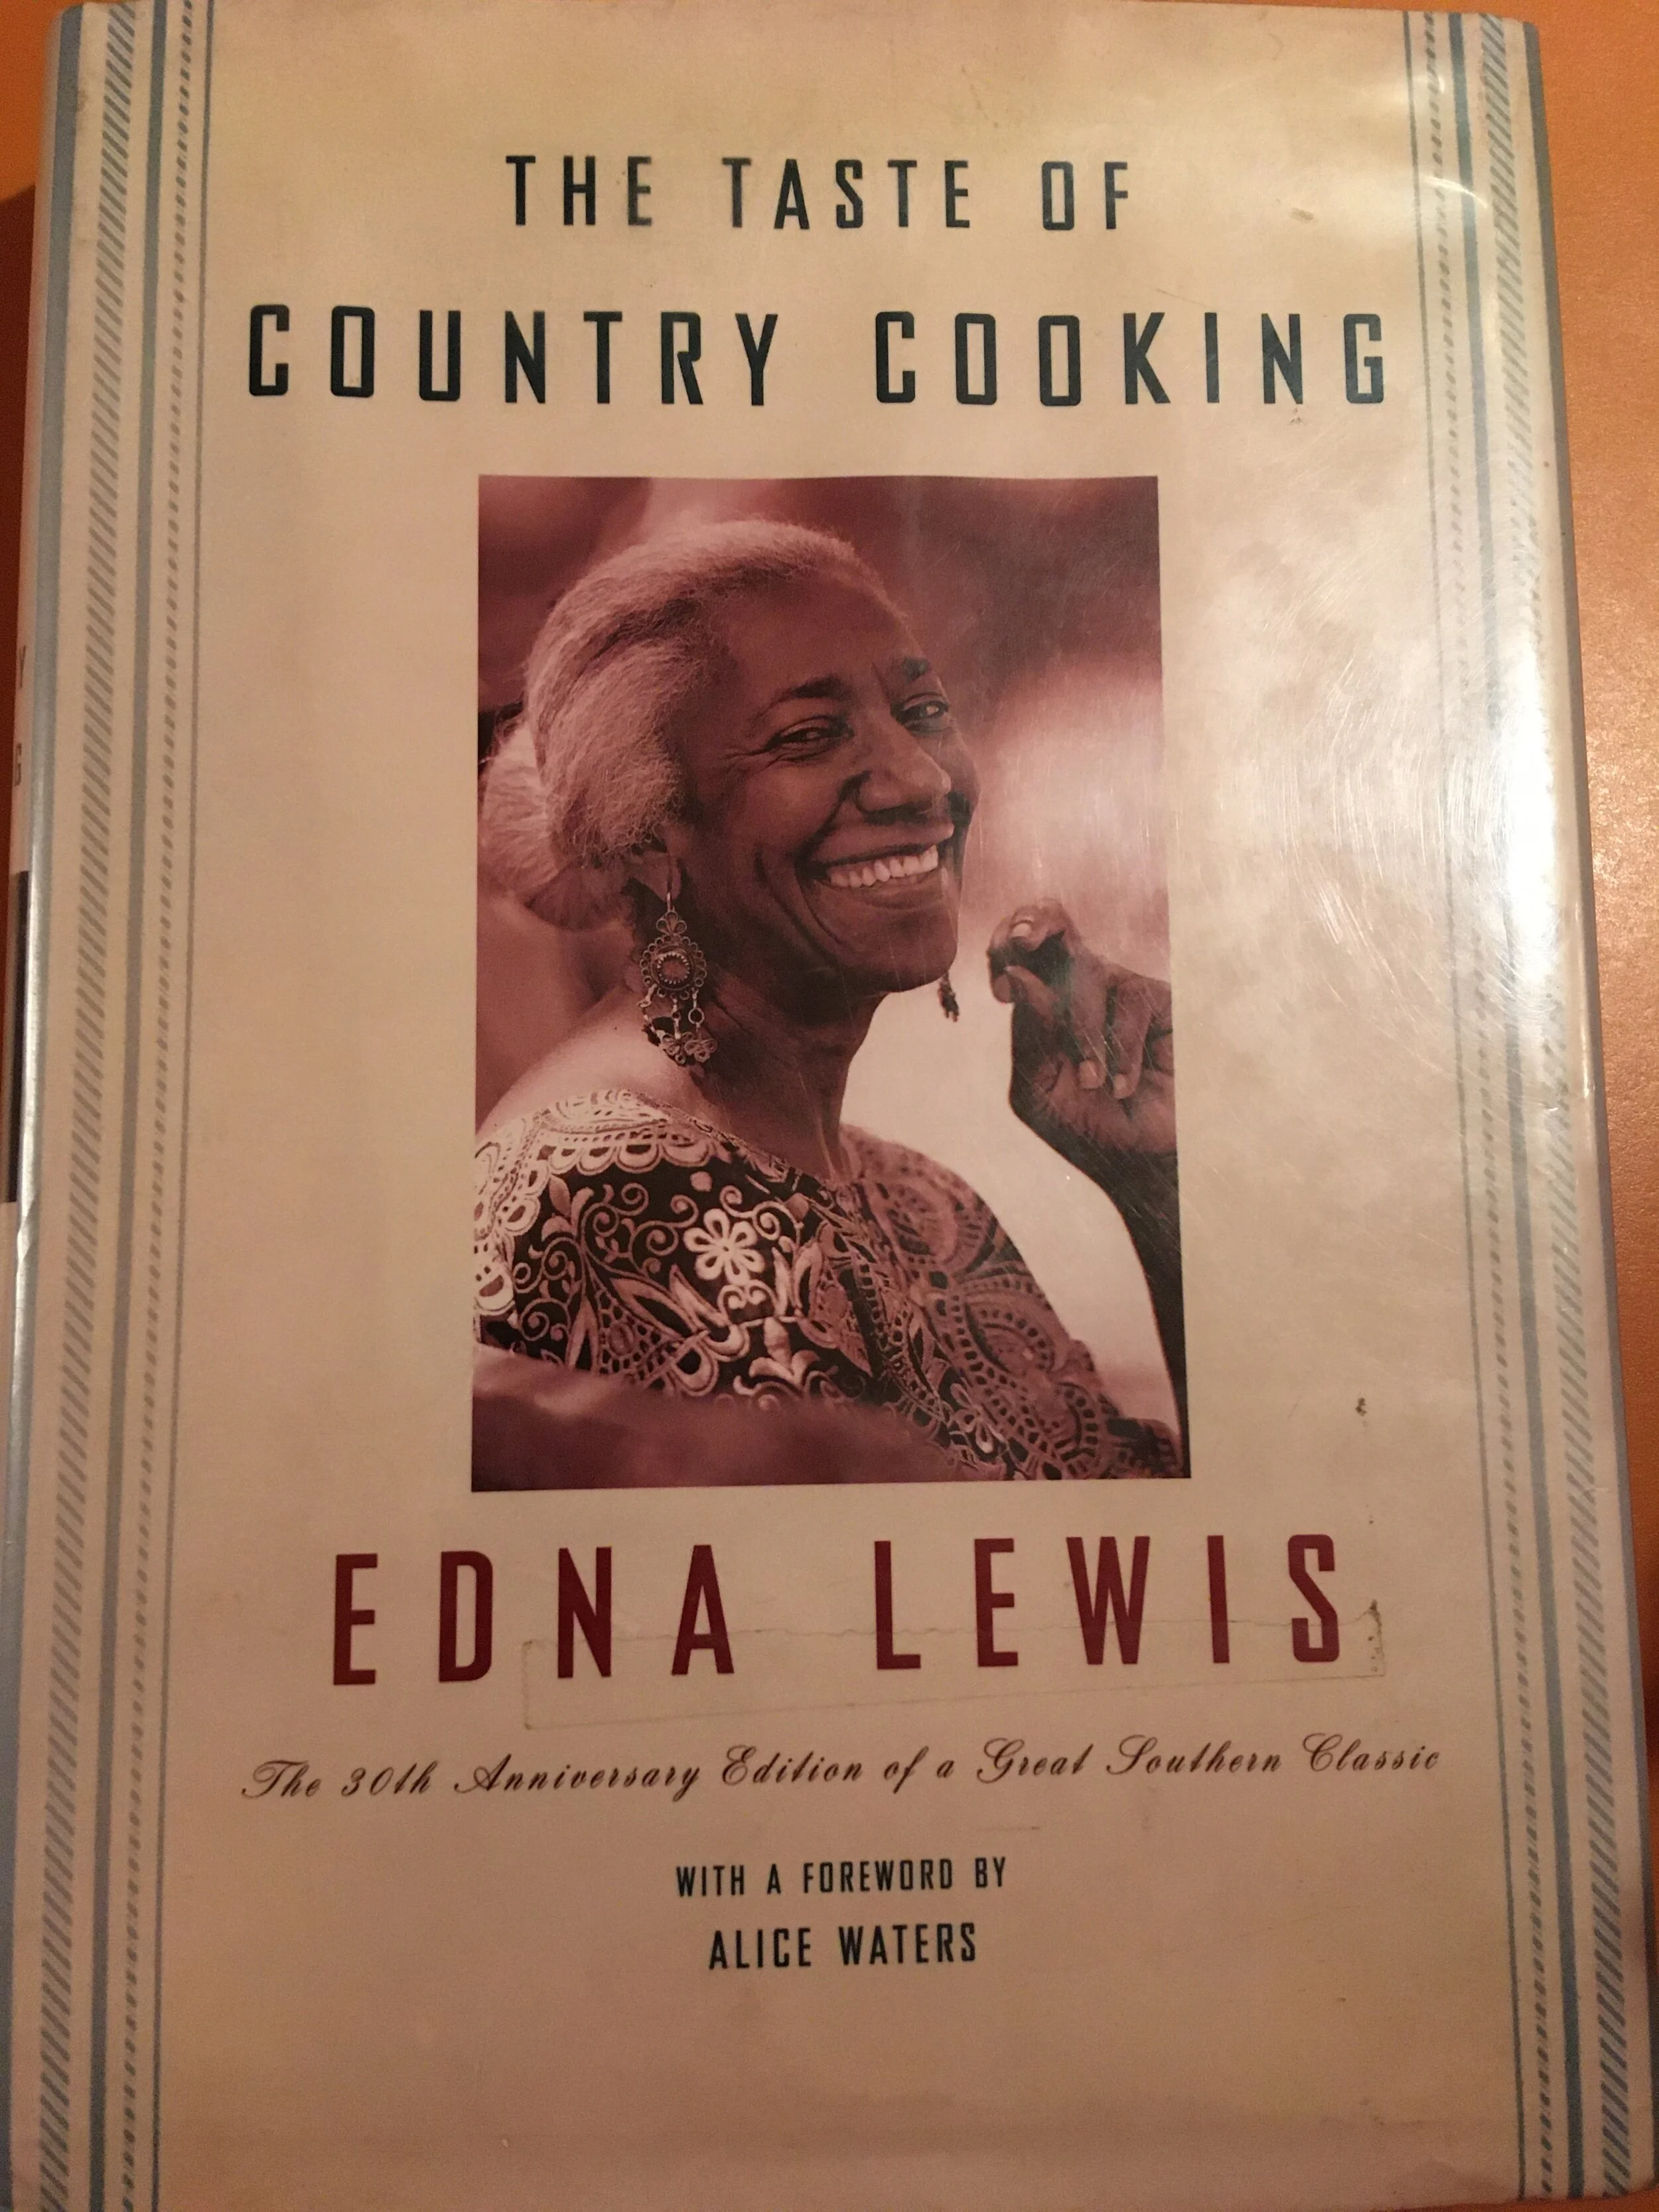
The Excellence Of Edna Lewis
An introduction to food heroine Edna Lewis, her incredible life, and her delightful recipe for watermelon rind pickles. Crawford Smith is an eclectic cook and musician living in Austin, Texas. Find his unique & inventive home recipes and music videos on crawfordsmith.com.
I just finished reading Edna Lewis’ incredible book The Taste of Country Cooking. Not just a cookbook, this work functions both as instructional material and memoir, using recipes to tell the story of a year in the lives of people living in Freetown, the self-sustaining agricultural community in rural Virginia where Lewis grew up.
The book is full of tips and instructions for seasonal, no-waste cookery. The range of techniques covered is expansive, from tips on slaughtering a pig and preserving its meat to refined recipes that showcase the daintiest vegetables of summer. Zero-waste and farm-to-table are now douchey fine-dining buzzwords, used to convince the wealthy to pay a few dollars more for an appetizer. In Lewis’ childhood, as in the childhoods of so many people from her generation, eating with the seasons and preserving foods via canning and fermentation were necessary survival tools.
The most impressive aspect of Lewis’ childhood community is how joyful and luxurious its food rituals were. Although the people of Freetown were basically subsistence farmers, they turned the natural bounty of the land they lived on into intricate multi-course meals and structured their lives around celebrations and feast days. Many “Southern” recipes like fried chicken and biscuits appear the book, as you would expect, but there are plenty of fancy French-influenced techniques too, like roast pheasant with fruit sauce or venison with juniper berries.

The smile of a true badass.
The self-reliance and prosperity of the community of Freetown is even more incredible when considered in its greater societal context. The town was founded by freed slaves in the Reconstruction period, and remained entirely populated by the black descendants of its founders through Edna’s childhood in the 1920s. By creating an isolated all-black farming community, Freetown’s inhabitants could escape some of the worst effects of Virginia’s Jim Crow laws that limited where and how black people could work and live. Freetown existed almost as an alternate reality, an intentional community celebrating freedom where black excellence could be nurtured and appreciated.
As someone interested in “Southern” or “country” food, I must be mindful of its fraught history. For too long, the celebrated figures of America’s most distinctive regional cuisine have been white men. The problem persists to the present day, when chefs like Sean Brock are given credit for revitalizing Southern food, taking media space away from the black and other marginalized voices who are responsible for so much of the Southern food tradition.
Loudly celebrating figures like Edna Lewis can help correct the whitewashed historical record. She was more badass than any modern chef I can think of, with a colorful life that included time in FDR’s re-election campaign, a stint in the American Communist Party, and encounters with a who’s-who of 20th century celebrities. That’s certainly a wilder life than contemporary chef adventure-bros like Dave Chang!
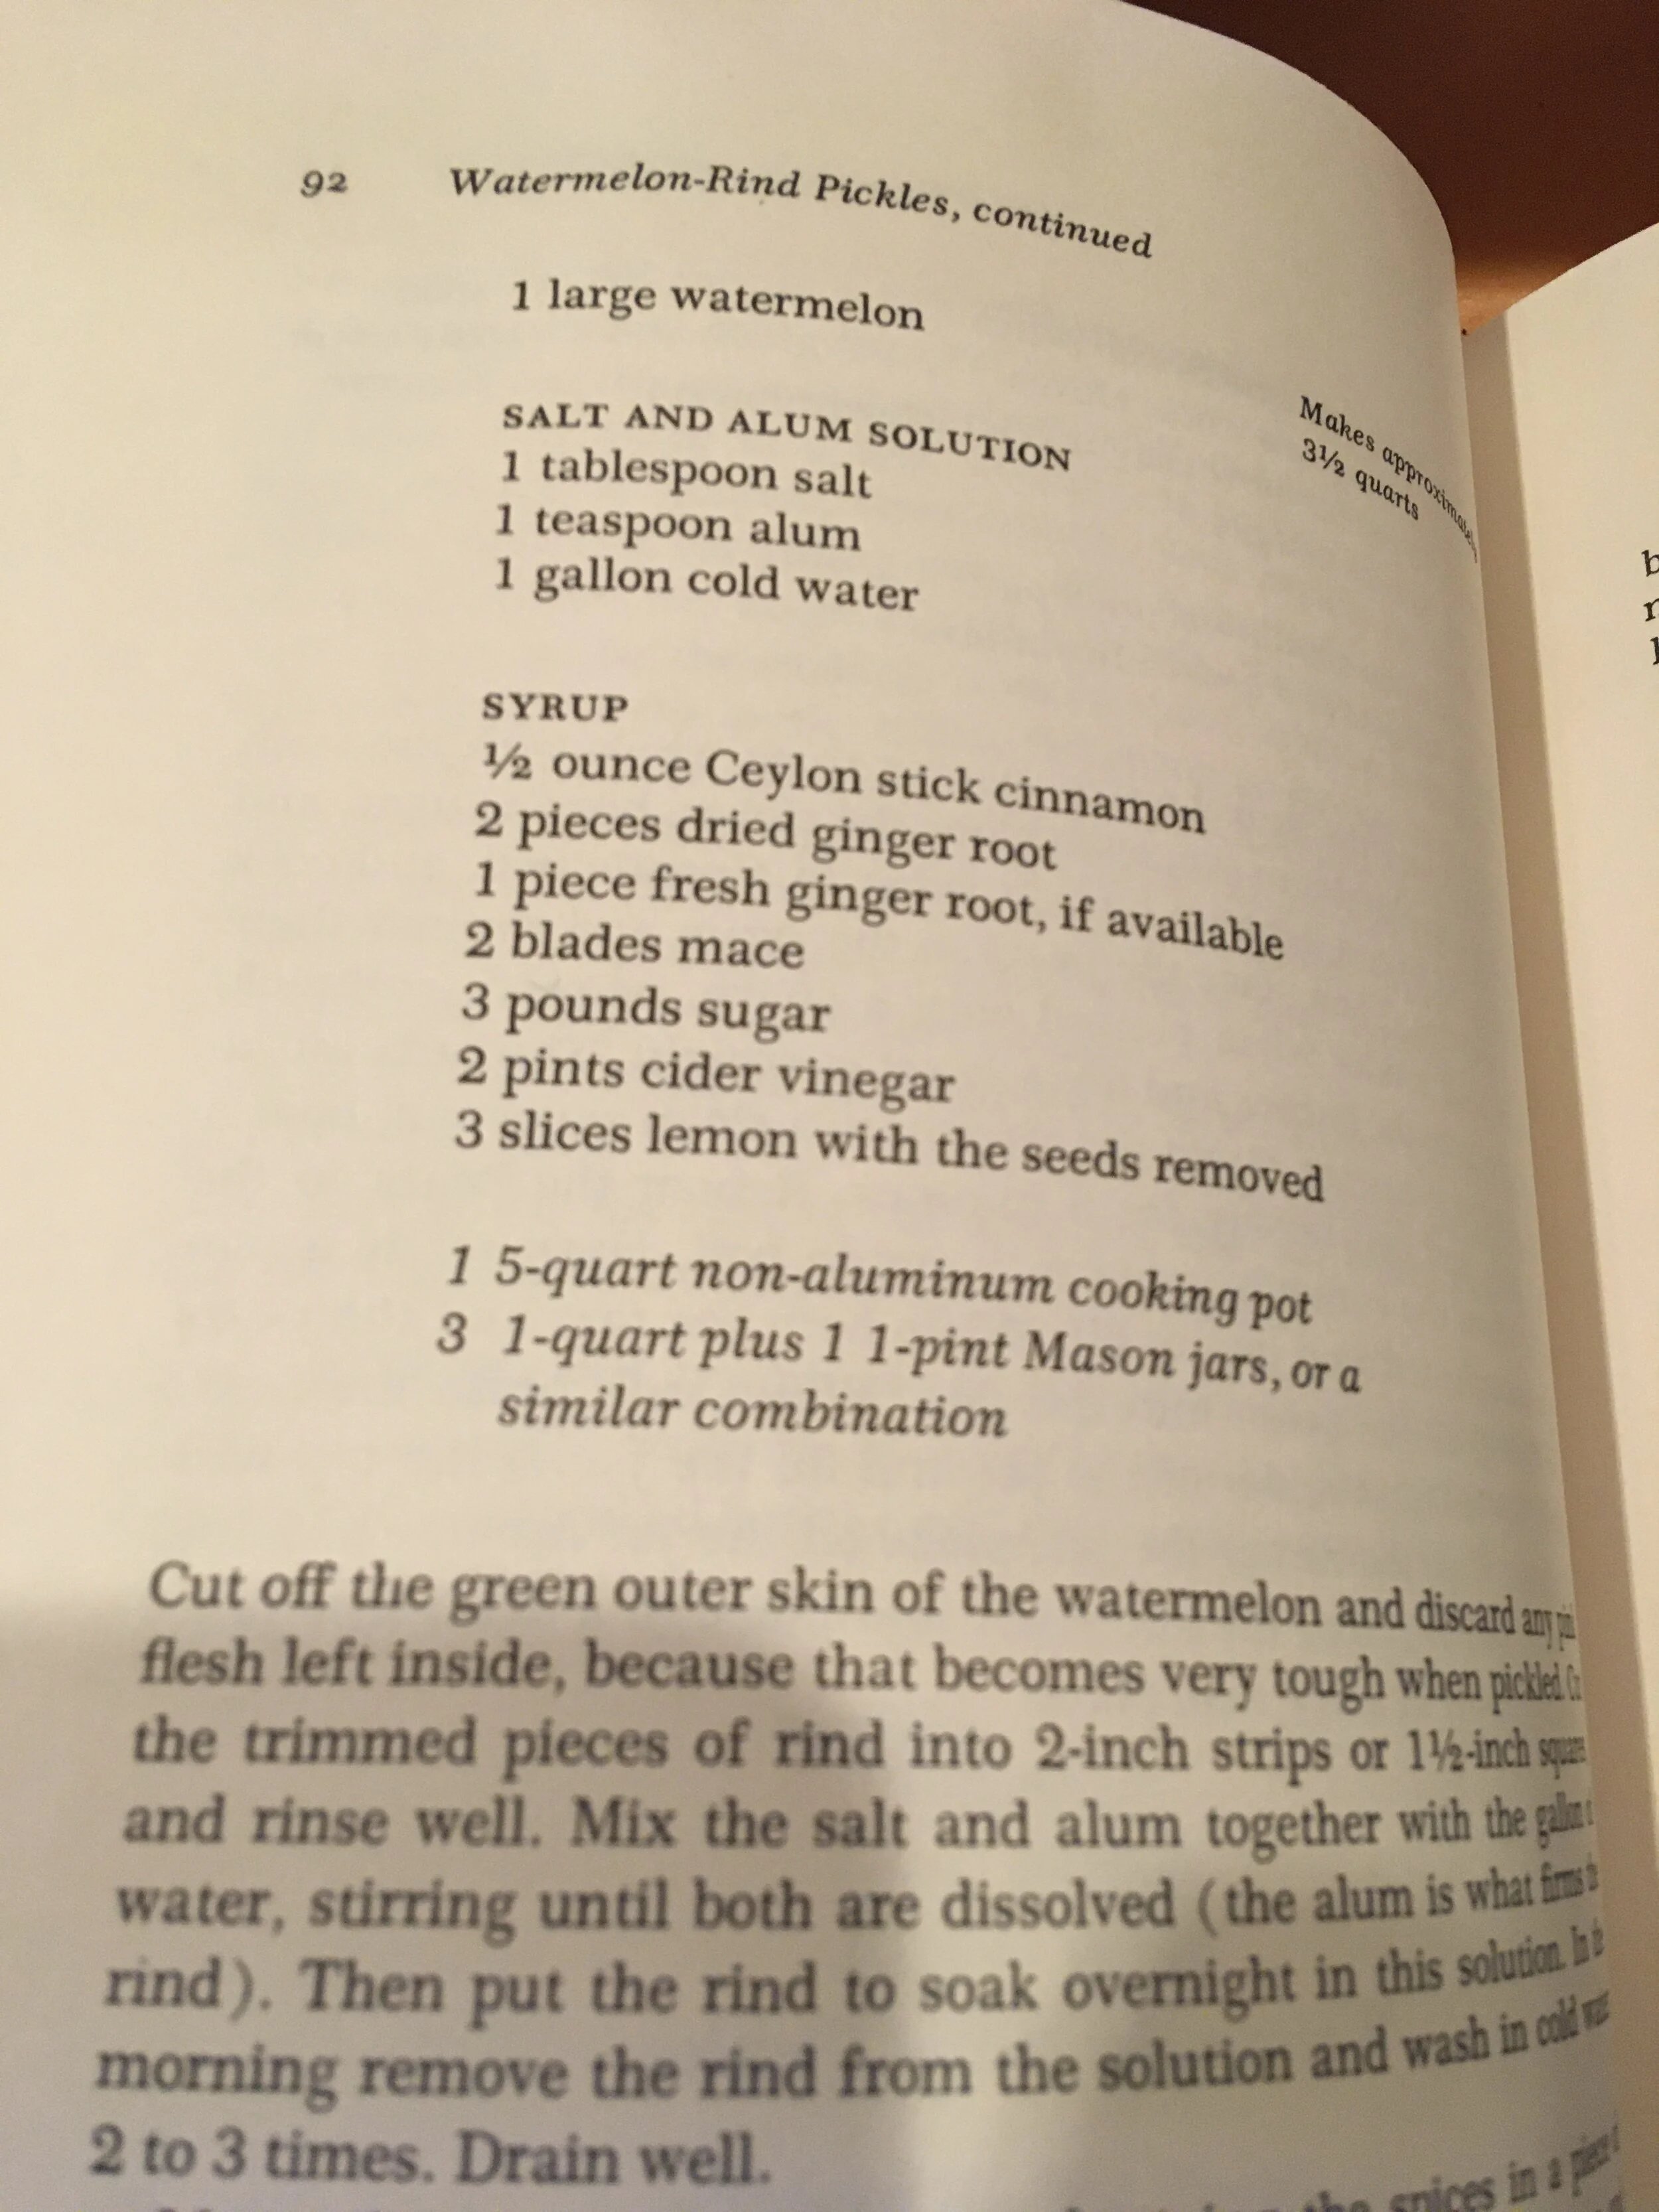
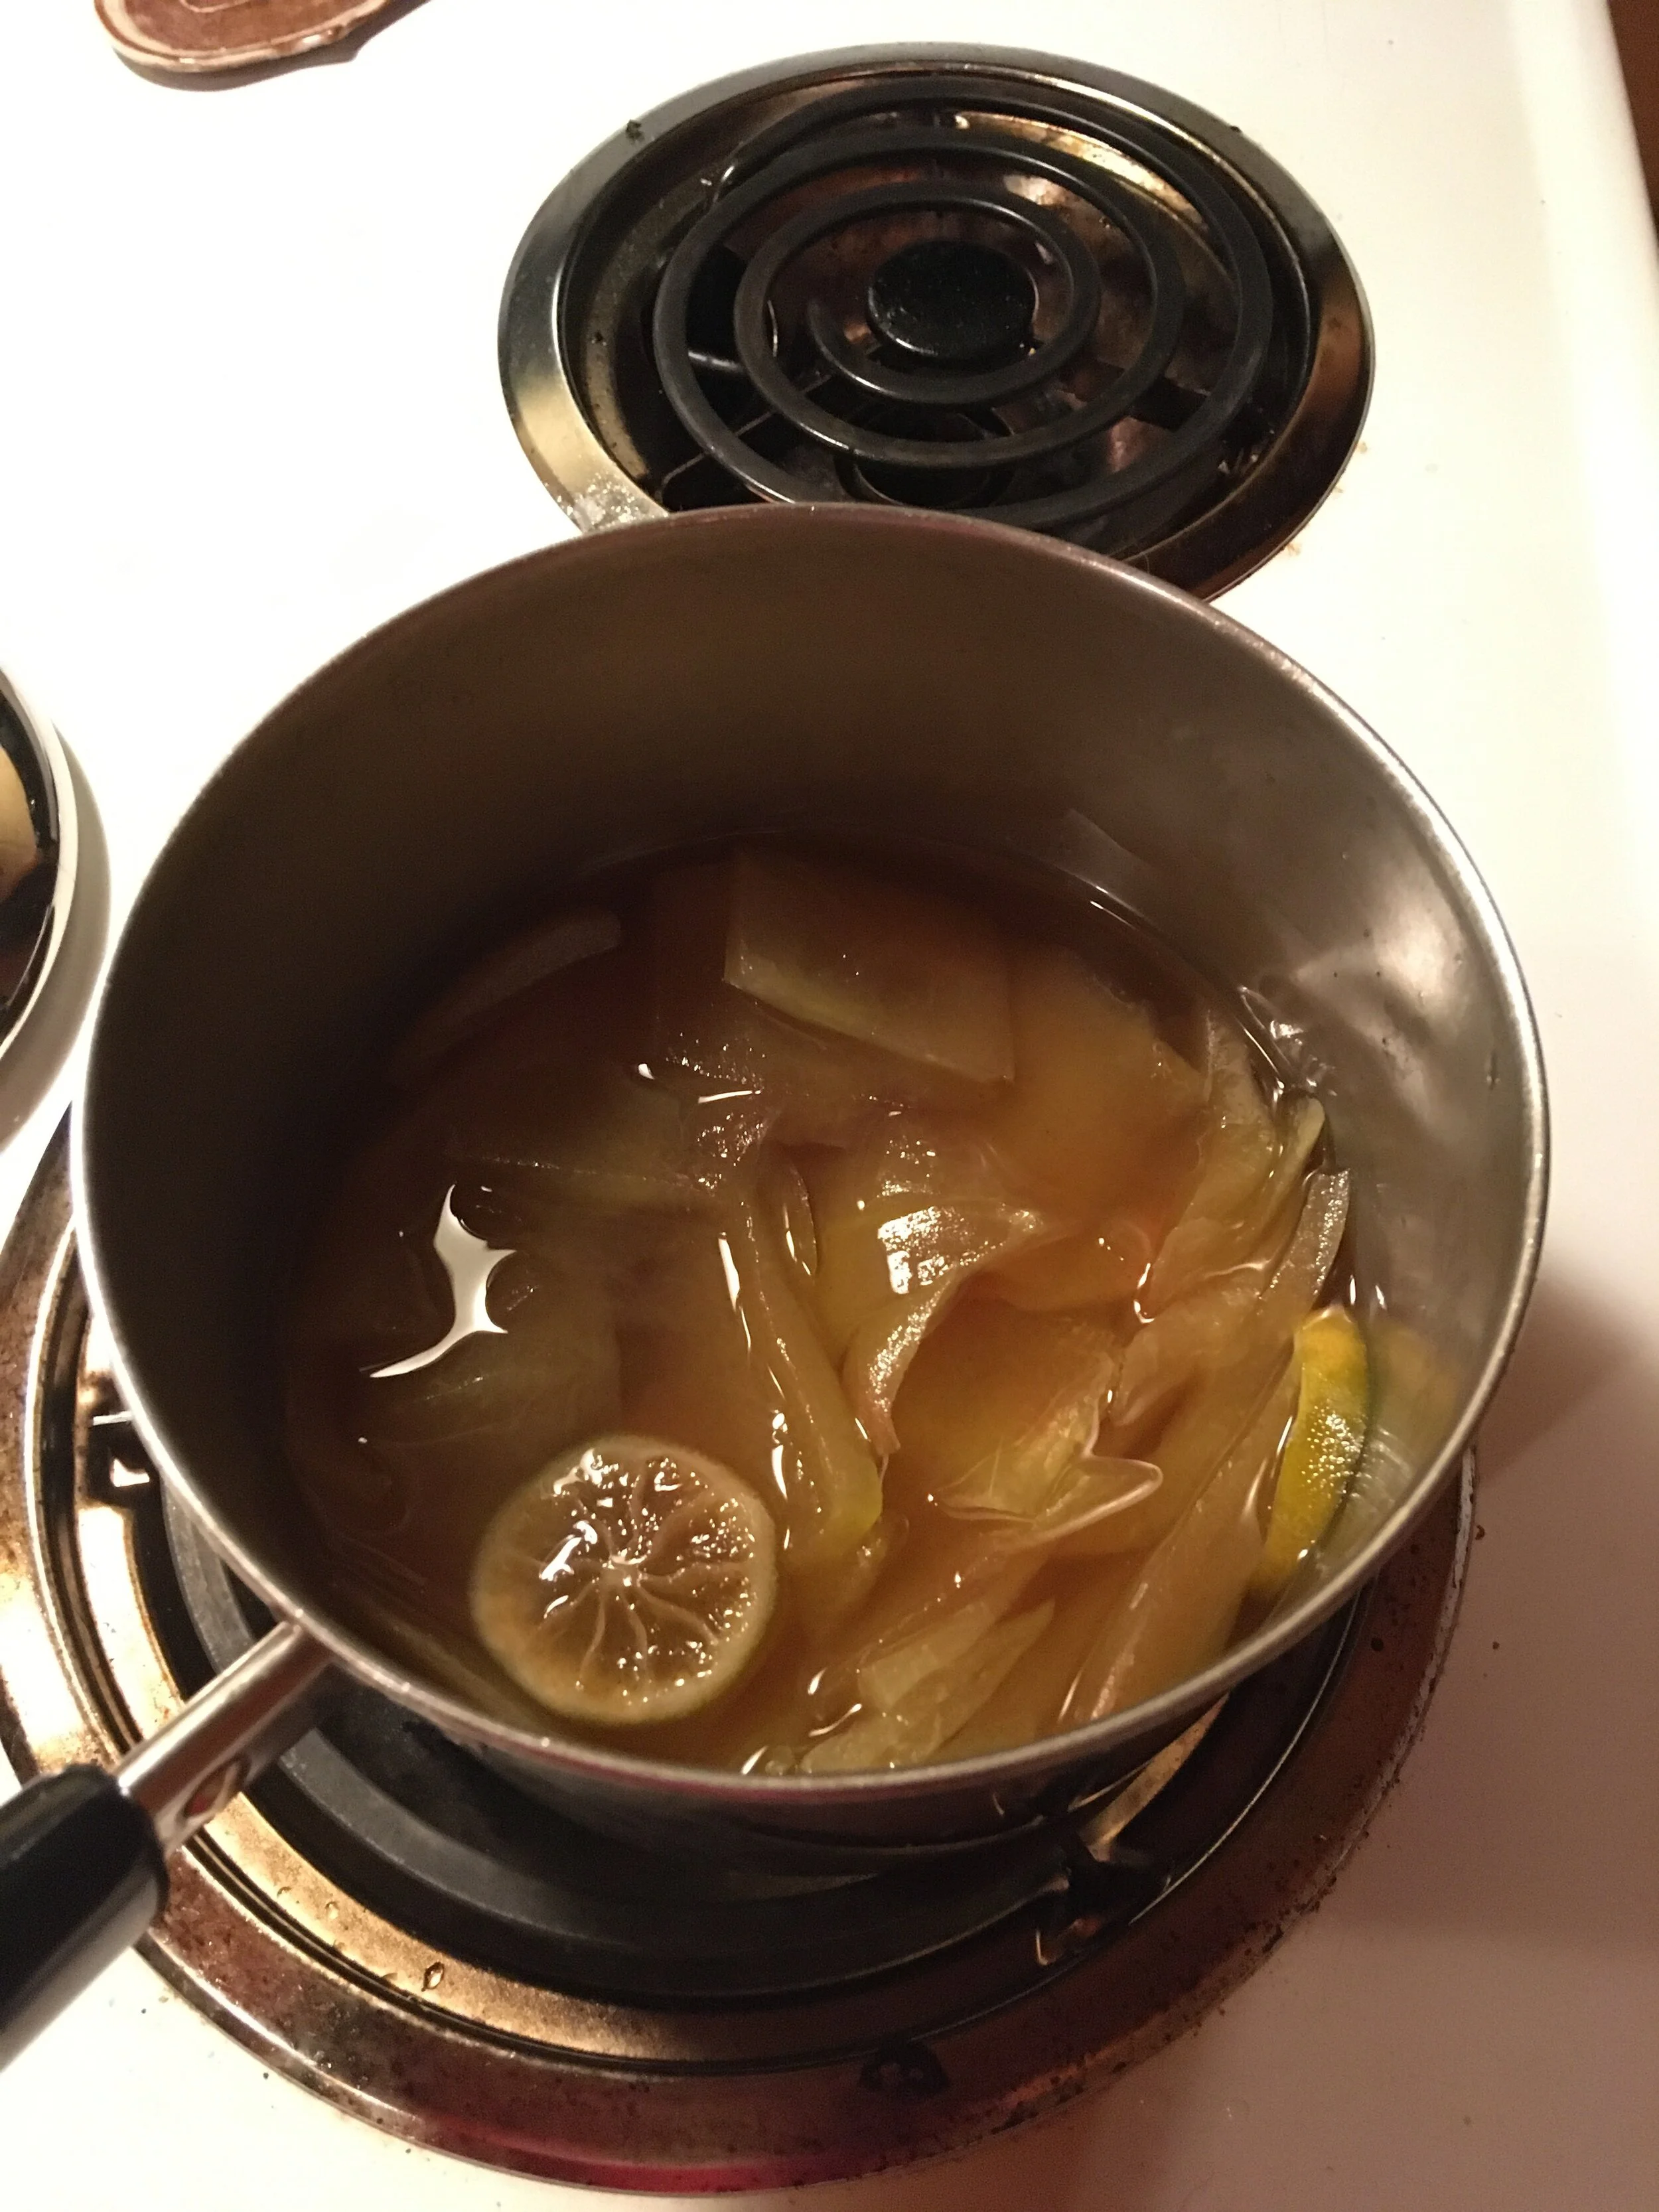
Most people probably don’t have alum powder at home these days. I substituted baking powder, which seemed to work.
The first recipe I made from The Taste of Country Cooking was a watermelon rind pickle. I’ve read about this dish before, but never had the opportunity to try it, so I was excited to test it out. It’s a great use for something that otherwise gets thrown away. The sweet, delicately spiced pickle would be great as an accompaniment to fatty roasted meats, as Edna suggests. I have been eating it on its own as a snack or as a topper for bread and cheese. I have plans to turn the leftover pickle juice into a tangy BBQ sauce. I’m not going to reprint the recipe in full since you should just go buy the book! Just know that the page I have included here is missing crucial steps for making this recipe correctly.
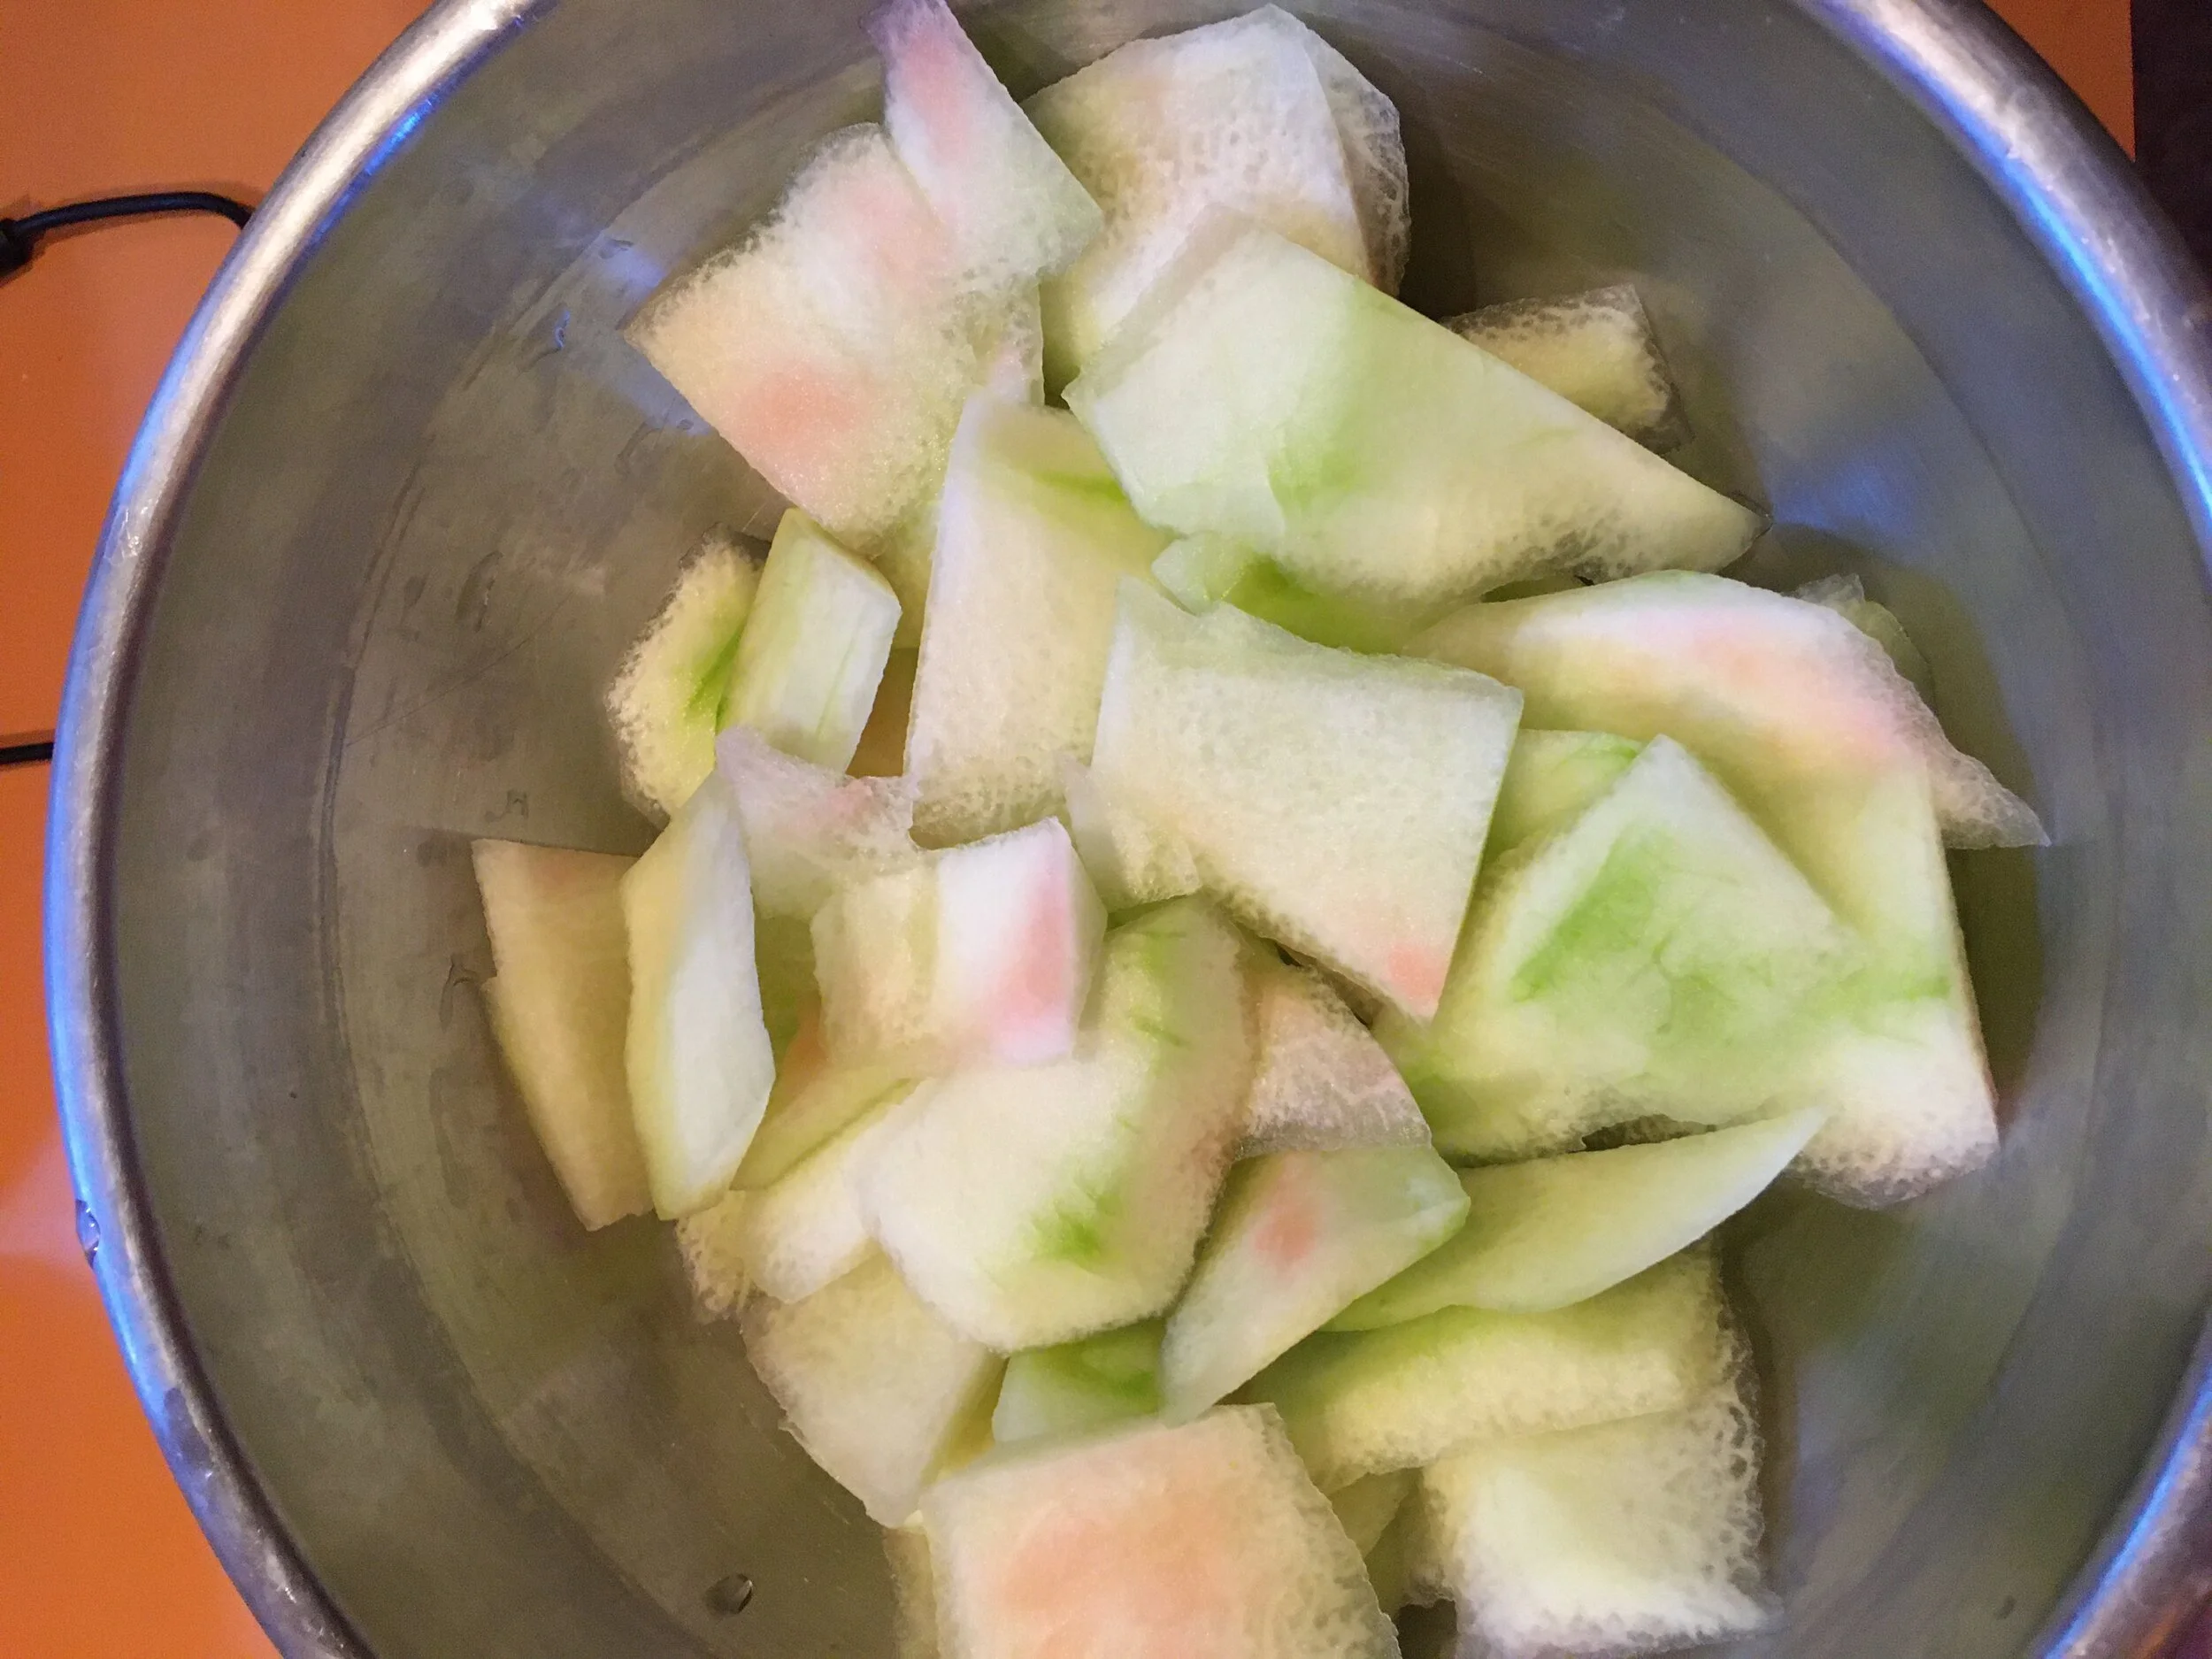
Cutting the rind off gave me my first kitchen boo boo in a while.
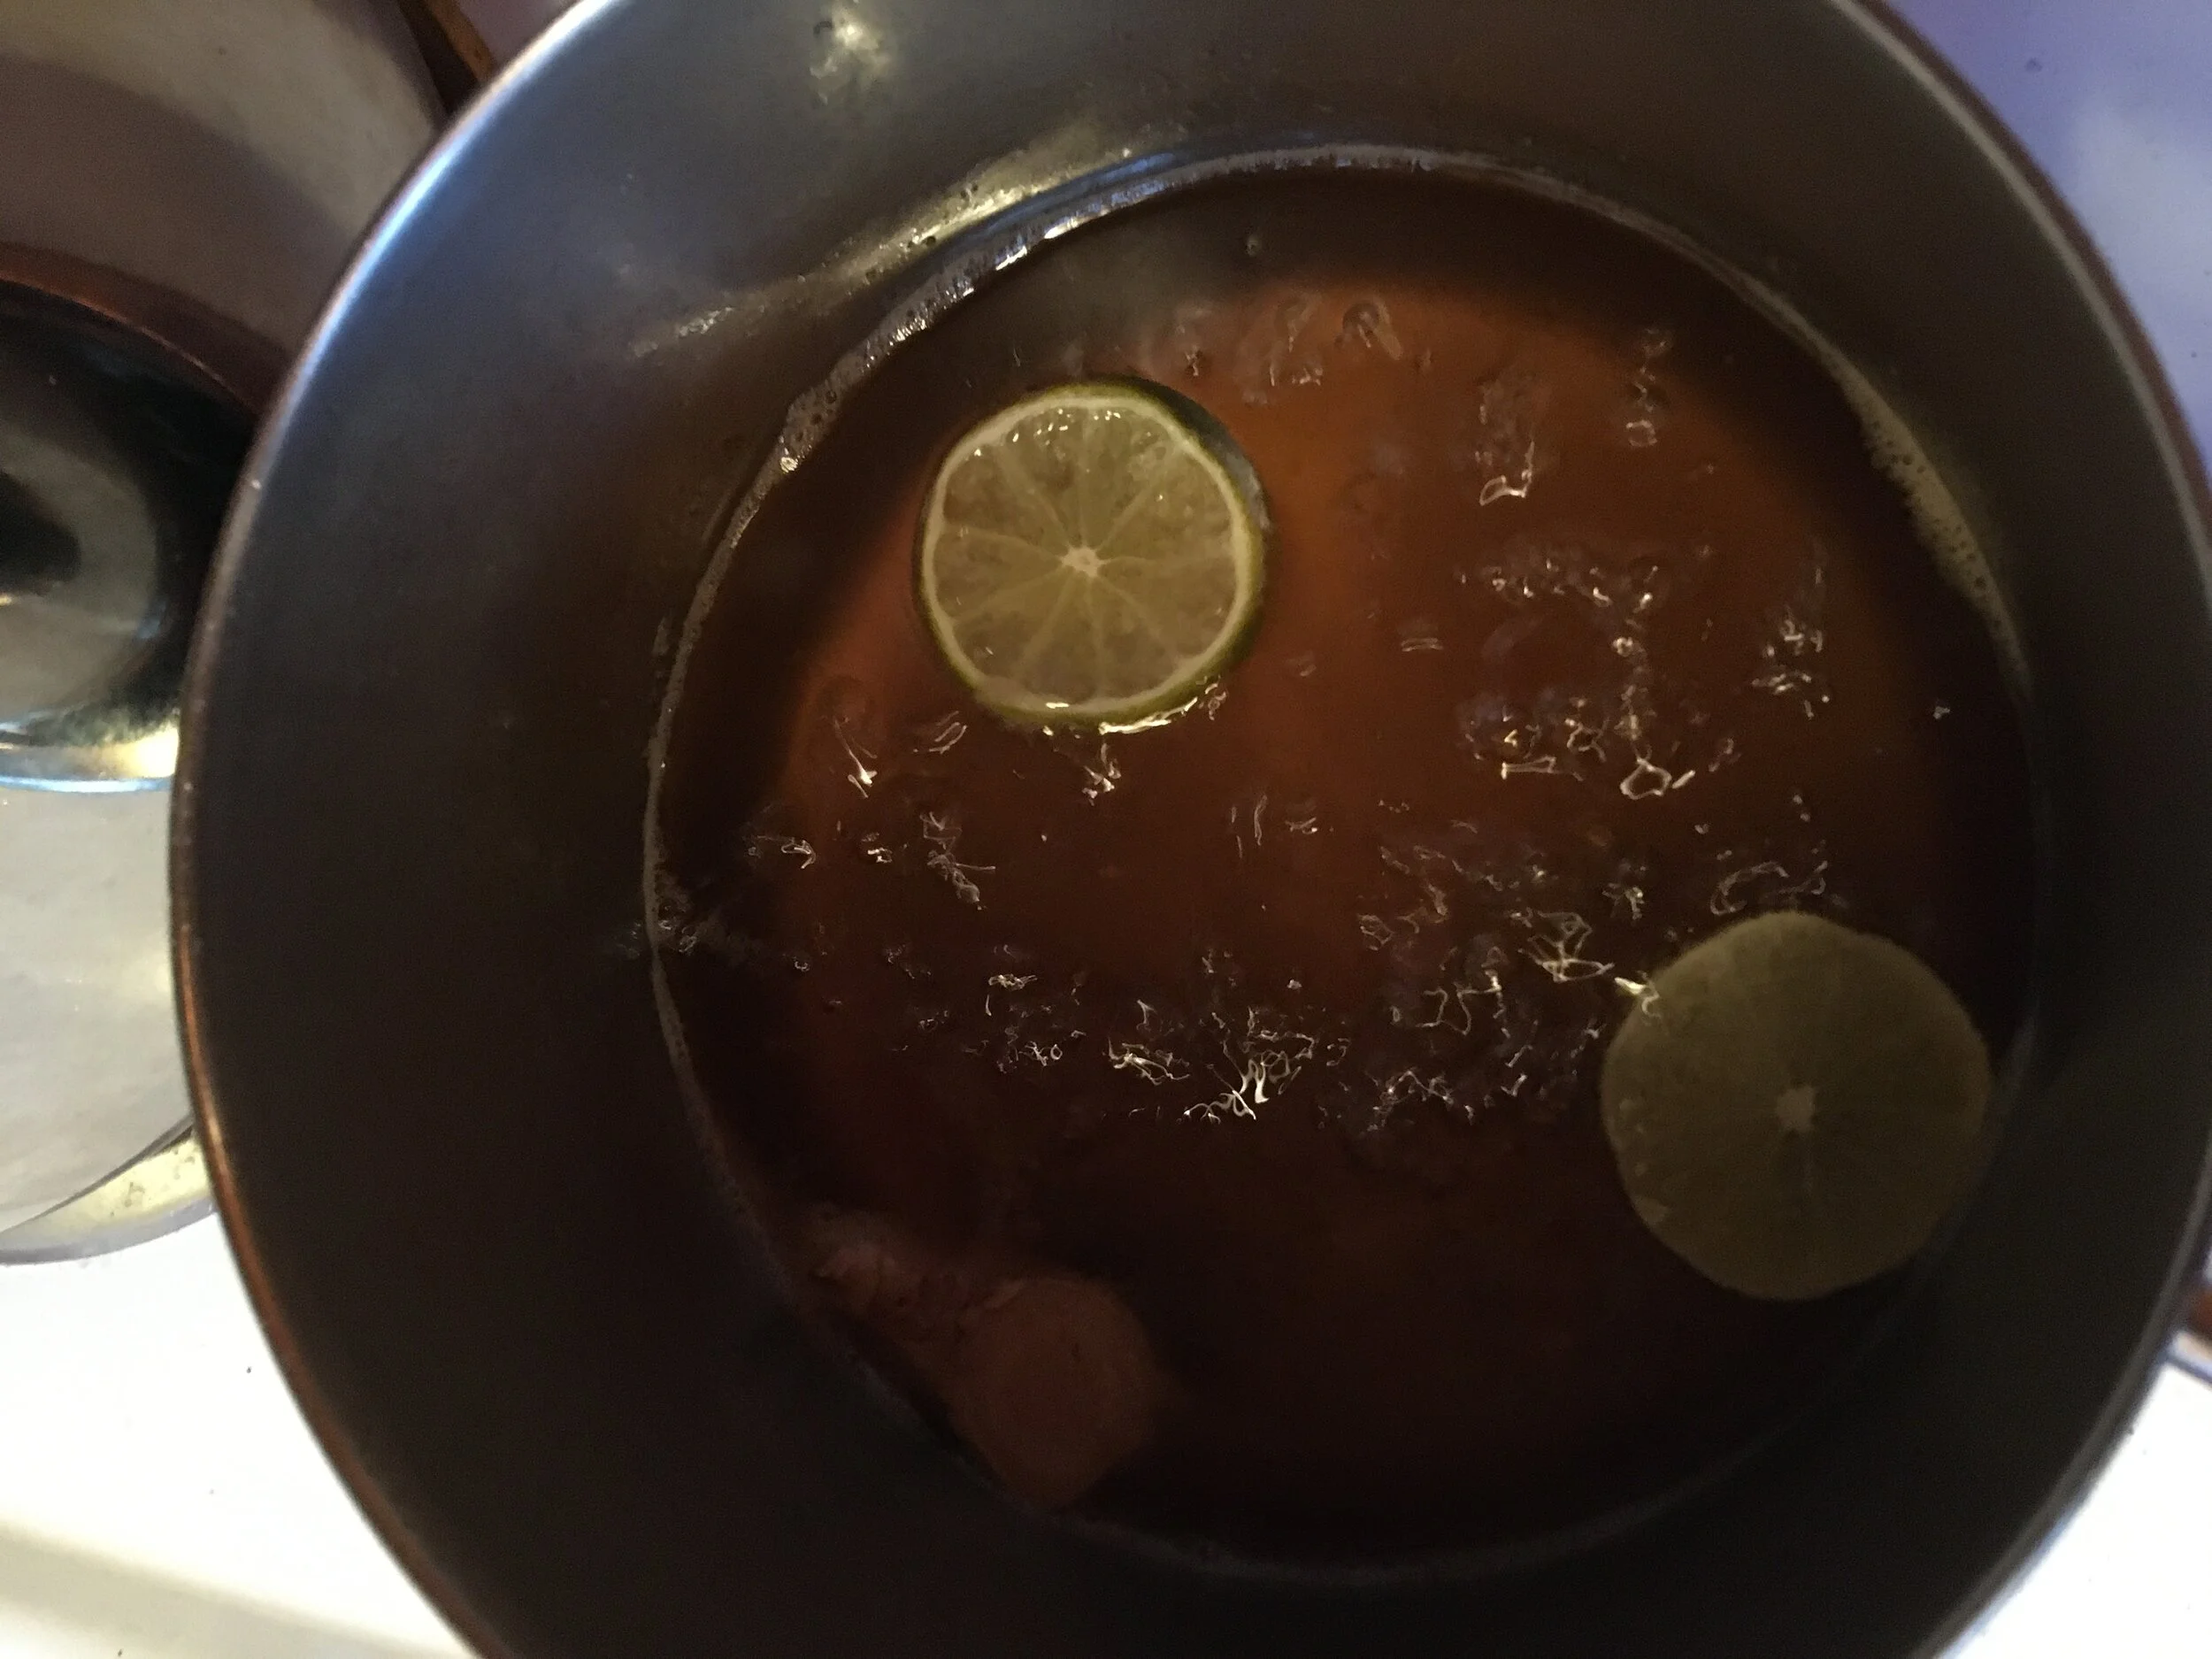
I subbed lime for the lemon and ground cinnamon and allspice for the cinnamon stick and mace.
The rinds turn glassy and translucent in the pickling solution.
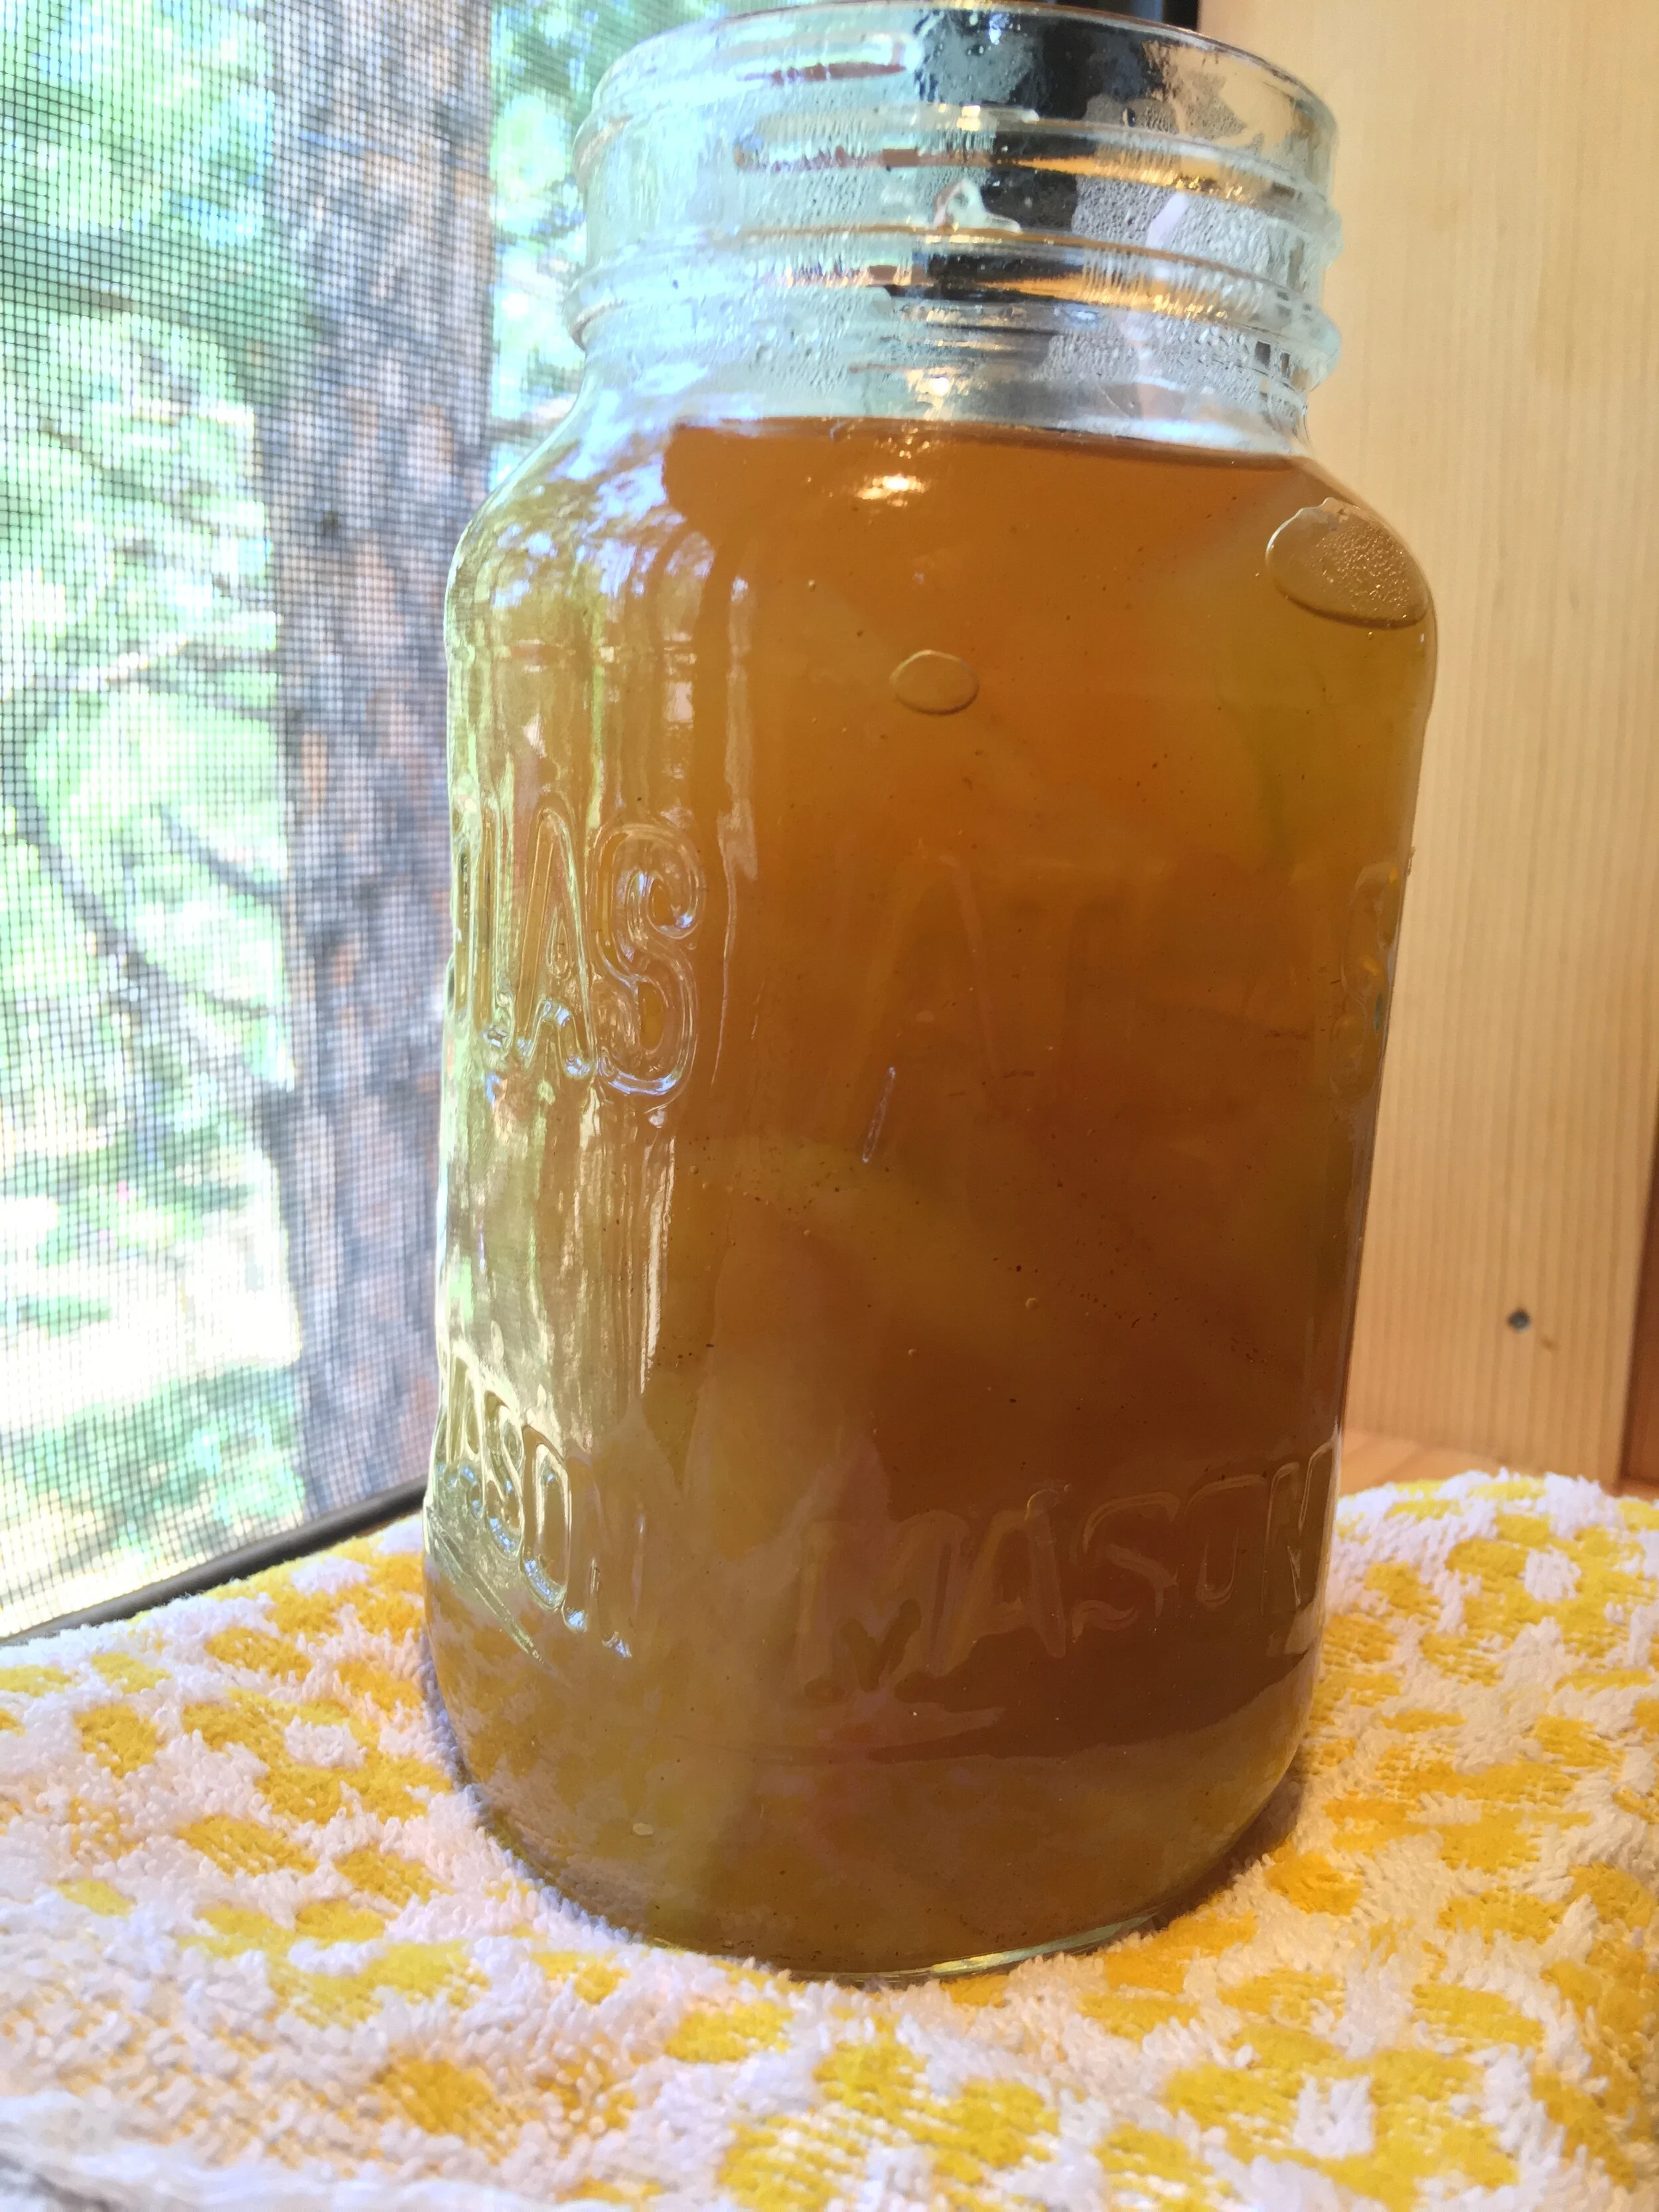
Unsuccessfully trying to capture the quality of sunlight filtering through the jar.
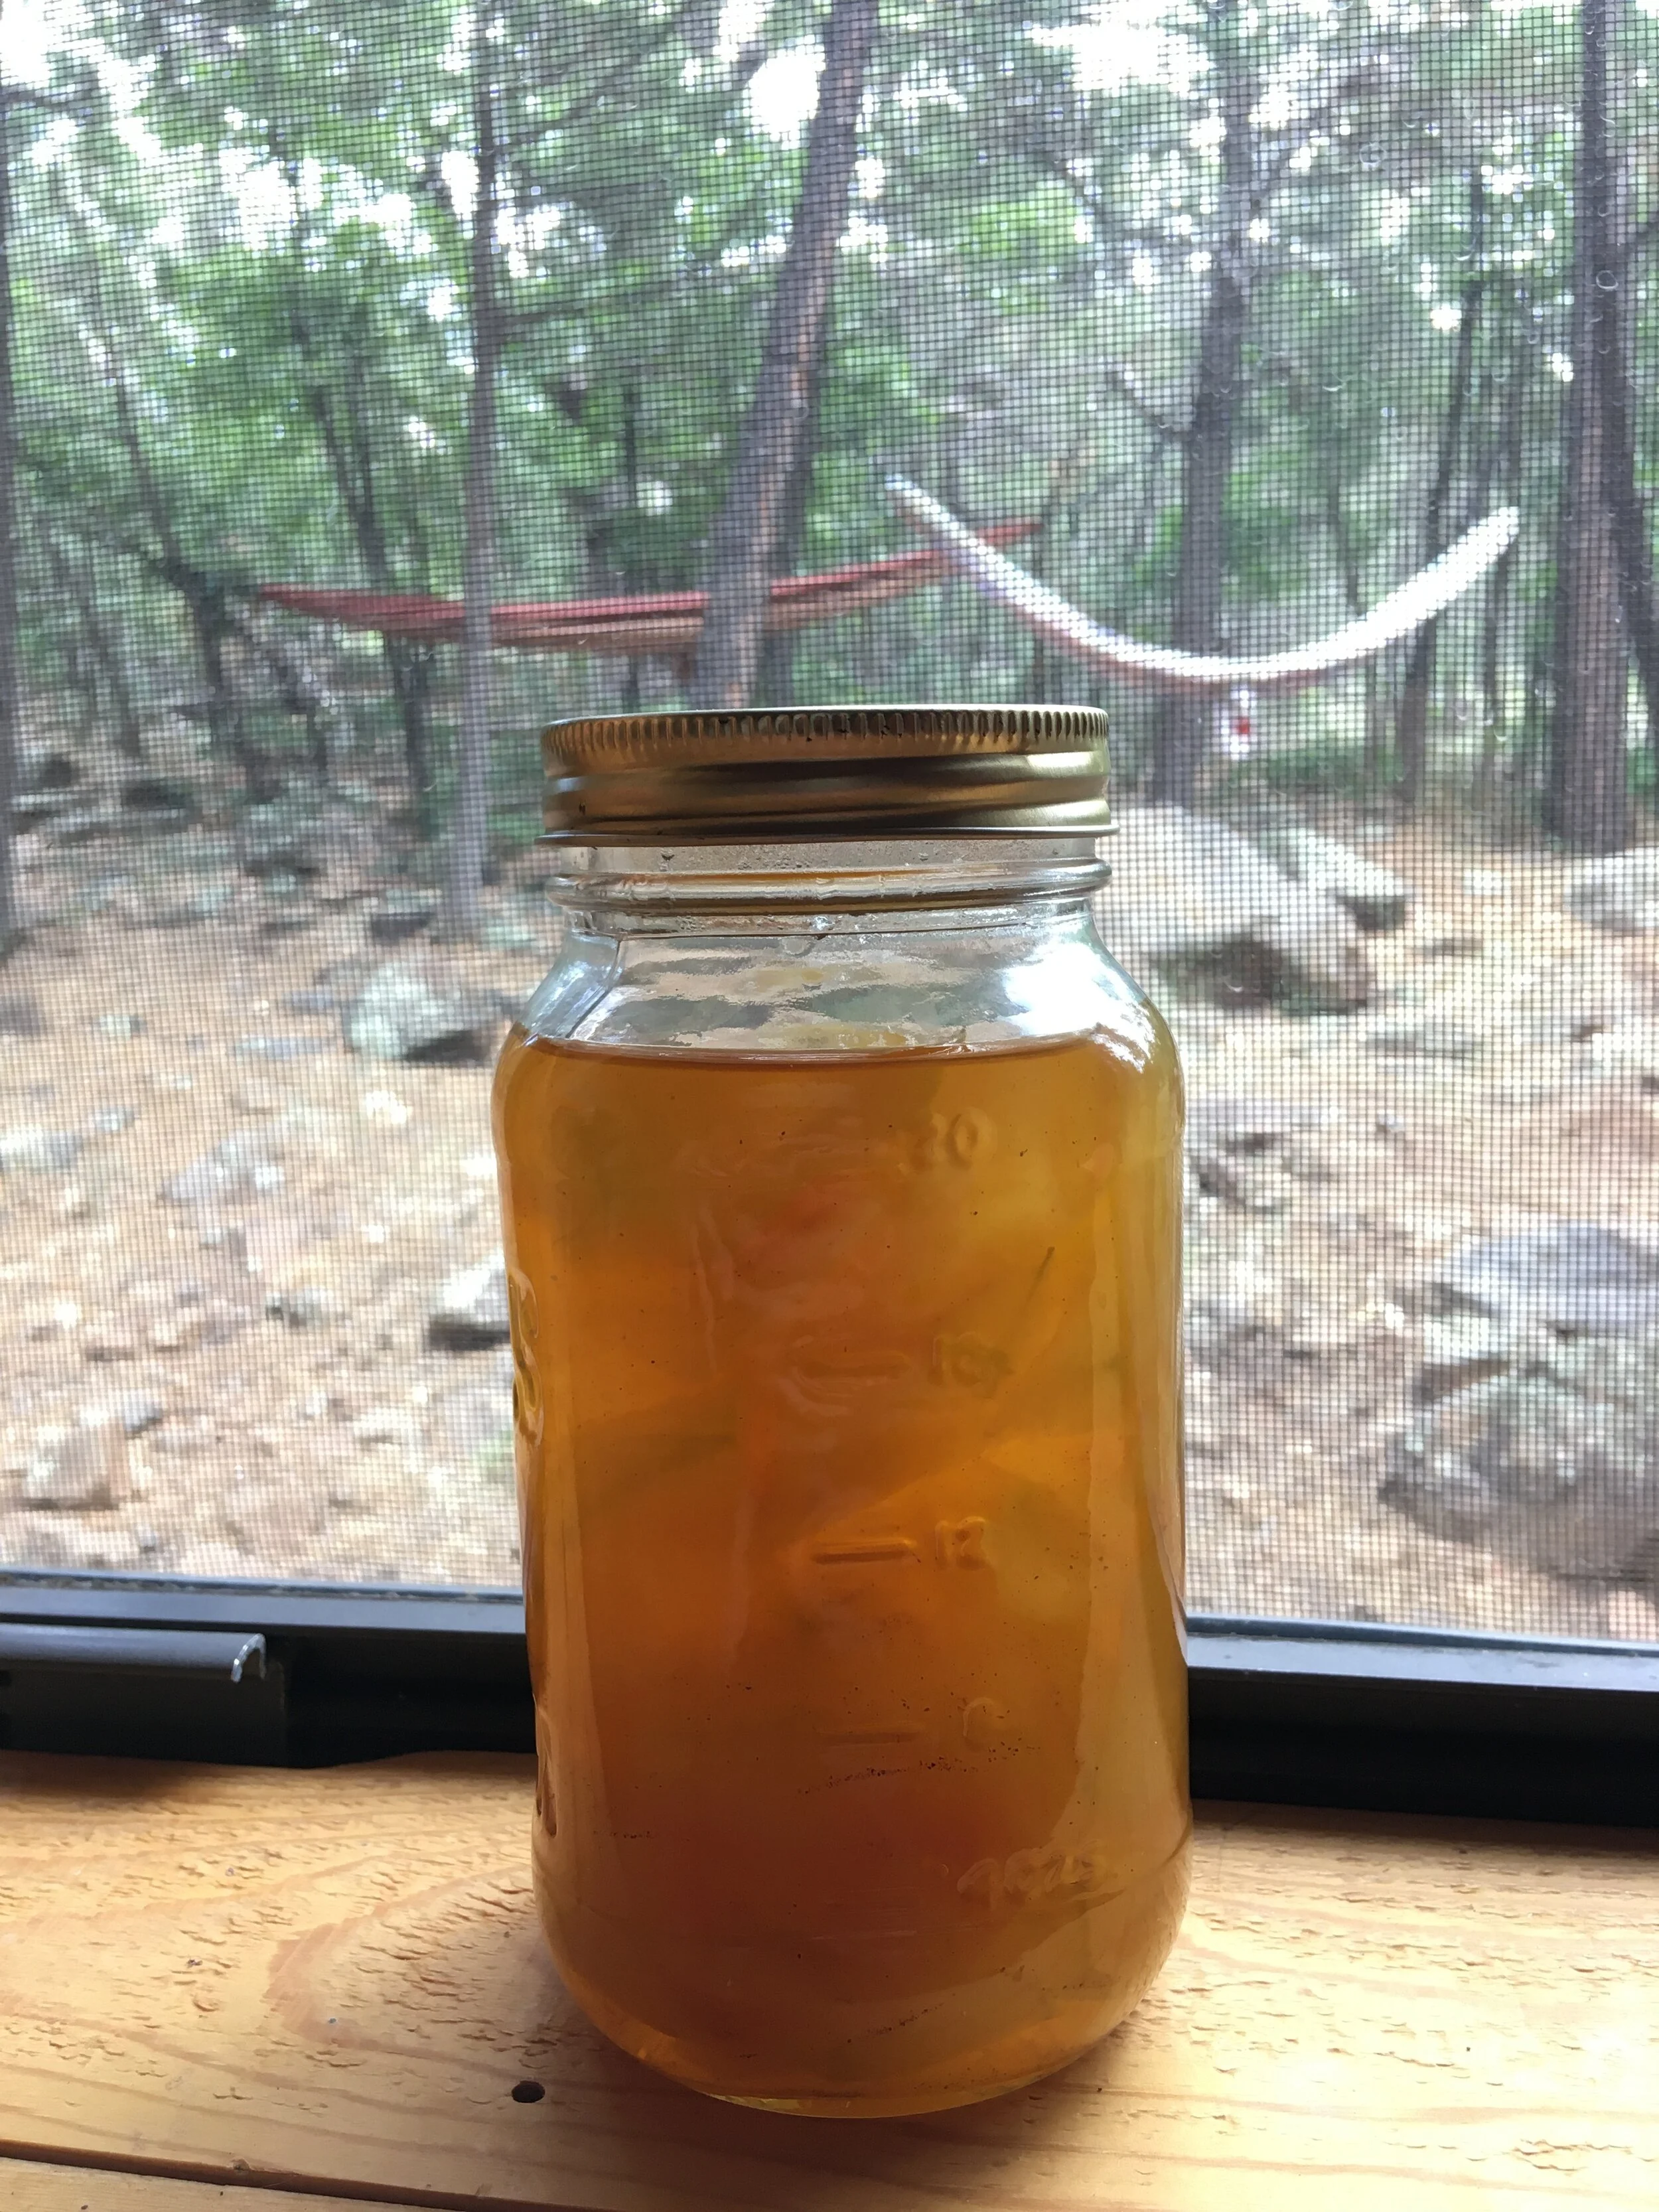
My hammock and mason jar lifestyle. Is this cottagecore?

Tiny Pies For Trying Times
Pies that are truly “easy as pie.” And they fit in your hand like Pop-Tarts! What’s not to love?
The creator of the phrase easy as pie is a goddamn liar.
Making pie filling is easy. Making a pastry crust, rolling it out large enough to cover a pie plate, transporting it from the counter to the pan without breaking it, and making sure the crust and filling finish cooking at the same time still often rewards you with a soggy or tough crust. It’s a bummer.
That’s why I don’t make big pies anymore! I make pop-tarts. Also called hand pies, pocket pies, empanadas, or about a million other things depending on where or when you’re from. In America, at least in modern times, pocket pies are thought of more as a pre-made gas station item than a home-cooked treat. The pies made by the snack cake companies are good, but they’re tooth-achingly sweet, and their crust sucks. We can do better.
You can make pocket pies with any kind of pastry. You can use store-bought pie crust or puff pastry dough, or even probably roll out canned biscuits and use those. I used to make classic butter short crust for my hand pies, but lately I’ve been using a more tender, less crispy dough to better replicate the eating experience of a gas station snack pie.
You can go sweet or savory with these. I have included one example of both genres of filling here.
Hand Pie Crust
Makes 10-ish pies
2.5 cups all-purpose flour
6 tbsp butter, frozen
1 egg
1/4 tsp baking powder
tsp salt
cold water
tbsp vegetable oil
Whisk together flour, salt, and baking powder in a large bowl. Grate the frozen butter on the large side of a box grater and incorporate it into the flour with light tossing motions until it’s evenly combined but the butter is still chunky. Mix in the egg, and then add cold water a tablespoon at a time until you get a dough that juuuust comes together into a ball. Too much water=shitty dough, so make sure you thoroughly mix after each addition of water so you don’t over-hydrate.
Turn your dough out onto a lightly floured board and press into a rough rectangular shape. Wrap in plastic and chill for at least an hour, and up to a couple of days.
When you’re ready to make pie, preheat your oven to 425. Pull your dough rectangle out of the fridge, cut it in half longways, and then cut each half into 5 nuggets. Roll your dough nugs into balls with your hands and roll the balls into disks with a floured rolling pin. I like to go pretty thin, like 1/8th of an inch.

Dough nugs! I used whole wheat flour for all the pies in these pictures, which is why they are brown. White flour will definitely produce tastier results, but I decided if I’m going to be baking at home all the time I might as well gesture towards health a little bit.
Put filling on one half of your dough circle, leaving about a half inch border of bare dough at the edge. Fold your dough over your filling and press the seam together with your fingers, then crimp with a fork.
Either cut slits with a sharp knife in the top of your dough or dock the top by poking a bunch of holes in it with a fork. Rub down each pie with vegetable oil, and bake on parchment lined pans for 20-30 minutes. When done, the edges should be golden brown and all the pastry should feel hard to the touch.

The finished product. The oil rub on the outside produces a nice pseudo-fried exterior.
*Notes*
If you don’t want to roll out each pie individually, you can roll all your dough out at once and cut it into rectangles. Fill and fold the rectangles the same way you would a circle of dough.
You can also totally deep fry these if you want to throw caution to the winds. Fry at 350 in deep oil, turning frequently until both sides are golden brown. Filling can leak out of the pie and cause gnarly splatters so, uh, watch out.
Greens and Feta Pie Filling
This is like a much much easier, slightly less indulgent spanakopita.
one batch of cooked greens
2 cups crumbled feta
2 tbsp lemon juice
salt and pepper, to taste.
Working a handful at a time, squeeze all the juice out of your greens and put the dry greens on a cutting board. Save the juice!! Use it in soup. Chop your greens finely, then add to a bowl and mix with the other ingredients. Go heavy on the seasoning here. The crust will kind of mellow out the flavor of the filling, so you want to season aggressively to compensate. Mound your filling onto a plate and divide into 10 equal portions before you start making your pies.

You can see how the baking powder makes the interior of the crust a little biscuit-y.
Glazed Apple Pies
For the filling:
3-4 green apples, peeled, cored and diced into 1/2 inch pieces
2 tbsp flour
tsp salt
6 tbsp brown sugar
tbsp apple cider vinegar
tsp cinnamon
tsp vanilla
FYI: for sweet pies, I like to mix a couple teaspoons of sugar into my pie dough. Everything else is the same.
Mix everything together in a saucepan on medium heat and cook, stirring constantly, until the apples have softened. If stuff starts sticking to the bottom of the pan, add a little water. When done, your apples should be sitting in a good amount of syrup. Put in a tupperware or similar container and chill until set.
Once cold, you should be able to cut your filling into equal pieces with a butter knife. Construct your pies and bake. Make sure to vent the tops of these well. I didn’t dock mine thoroughly enough, and half of mine exploded. Let them cool, and then add glaze.
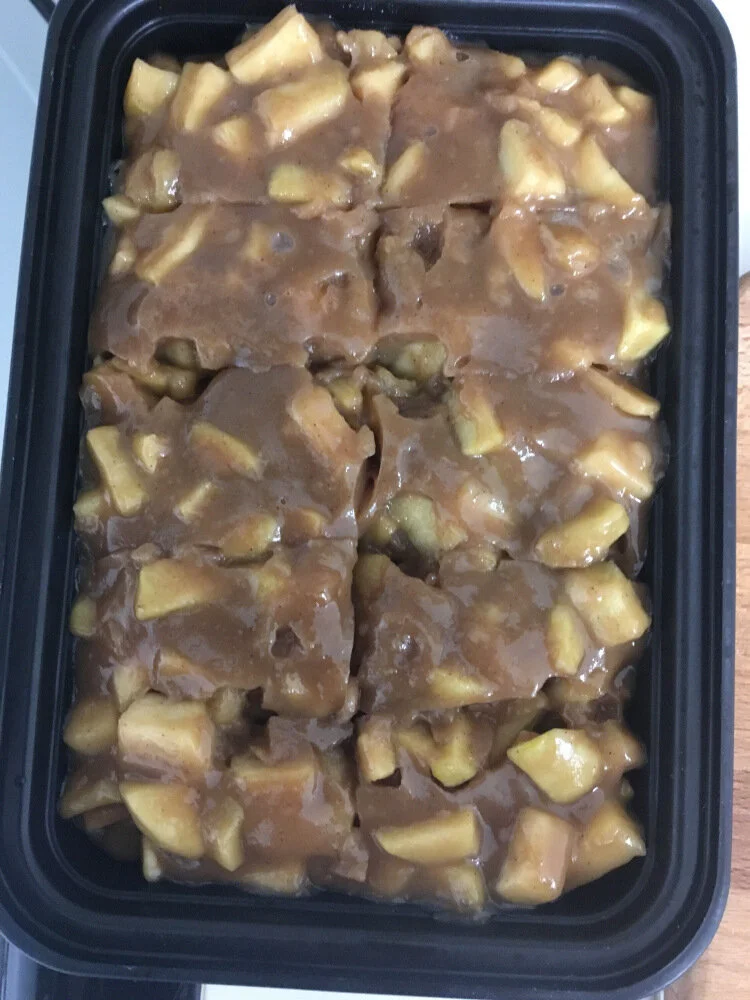
Thoroughly gelled filling cut into portions.
Glaze
3/4 cup powdered sugar
tsp vanilla
1/2 tsp salt
water or milk
Whisk together the first three ingredients, and add just enough liquid to make a frosting that you can pipe. Transfer to a ziploc bag and cut the corner off to use it like a piping bag. Pipe attractive squiggles over the tops of your pies, just like a toaster strudel.

These were for a socially distanced birthday party. Disregard the exploded pie splatter in the left of this image.